How to Ferment Kimchi Faster at Room Temperature: A Step-by-Step Guide Without Commercial Starter
Disclosure: This post may contain affiliate links. We may earn a commission on qualifying purchases at no extra cost to you.
Fermented kimchi is one of Korea’s greatest gifts to the kitchen—that perfect balance of sour, spicy, funky, and bright. But here’s the thing: you don’t need a fancy fermentation kit or commercial starter culture. Your kitchen counter, a jar, and some patience are enough. The question isn’t whether you can ferment kimchi at room temperature; it’s whether you’re ready to taste how much better it is when you do it yourself, and how to make it happen fast.
Why Room Temperature Ferments Kimchi Faster Than the Fridge
Temperature controls fermentation speed because lactobacilli—the good bacteria that sour and preserve kimchi—multiply faster when warm. At refrigerator temperature (around 40°F / 4°C), fermentation crawls. At room temperature (68–75°F / 20–24°C), those bacteria party. This is not magic; it’s microbiology.
Wild lactobacilli are already on your napa cabbage, on your hands, in your kitchen air. When you salt the vegetables and seal them in a jar with no oxygen, you create the perfect environment for these bacteria to outcompete bad actors and take over. The warmer the room, the faster they work. A kitchen at 72°F (22°C) will ferment faster than one at 65°F (18°C)—sometimes by 2–3 days.
This is also why commercial starters exist: they speed up fermentation by flooding the jar with a huge colony of the right bacteria. But you don’t need them if you’re patient or if you can keep your kitchen warm.
Ingredients and Equipment You Actually Need
Forget elaborate kits. Here’s what works:
- Napa cabbage (2–3 heads): The classic, though you can use daikon radish, cucumbers, or other vegetables once you’ve mastered cabbage.
- Sea salt or kosher salt (2–2.5% of cabbage weight): Not iodized—iodine clouds fermentation. If your cabbage weighs 1000g, use 20–25g salt. A kitchen scale is honestly worth it here.
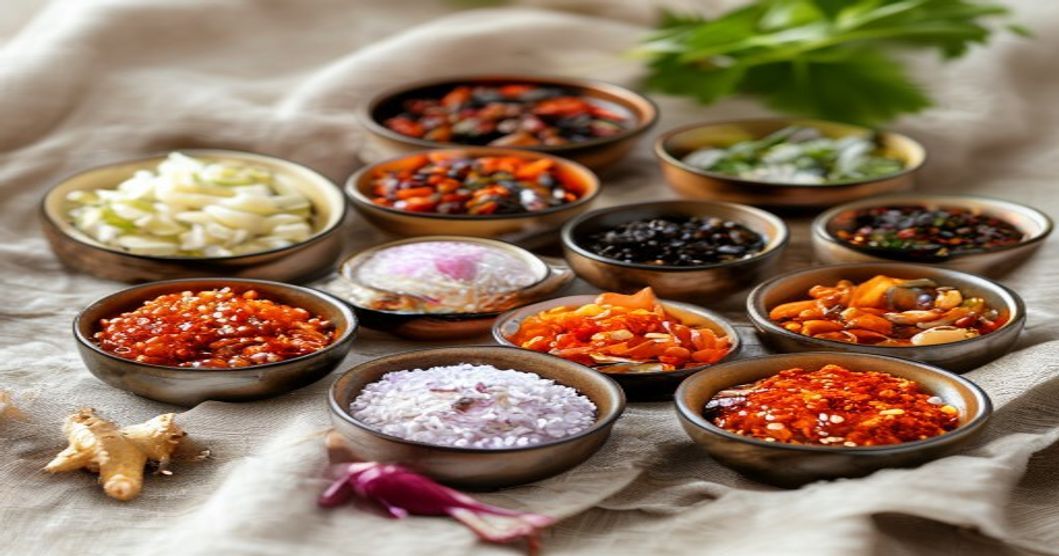
- Gochugaru (Korean red chili flakes): The soul of kimchi. About 2–3 tablespoons per head of cabbage. Real gochugaru has a fruity undertone that store-bought chili powder doesn’t.
- Garlic and ginger (freshly minced): 1–2 tablespoons of each per head. Don’t skip fresh—powders ferment differently.
- Jeotgal or fish sauce (1–2 tablespoons per head): Jeotgal is fermented salted anchovies or shrimp. Fish sauce is a decent substitute if jeotgal is hard to find. This adds umami and speeds fermentation.
- Sugar (1–2 teaspoons per head, optional): A tiny bit feeds the bacteria and can speed fermentation slightly. Korean cooks often skip it, but if your kitchen is cool, it helps.
- Glass jar with a lid: Quart-sized (32 oz) jars work for one head of cabbage. Clean glass, not plastic—plastic can leach into fermented foods and won’t let you monitor progress.
- A kitchen scale: Optional but saves headaches—guessing salt by pinch is how batches go wrong.
The Step-by-Step Process: From Cabbage to Fermented Gold
Step 1: Prepare the Cabbage (20 minutes)
- Rinse the napa cabbage under cool running water and let it sit in a colander for a few minutes to drain.
- Cut the cabbage in half lengthwise, then into quarters. Leave the stem end intact—it holds the leaves together and ferments beautifully.
- Place the cabbage in a large bowl and sprinkle it generously with salt (about 2–2.5% of the cabbage’s weight). Work the salt between the leaves by hand, as if you’re giving it a massage. The goal is for the salt to reach every layer.
- Let the cabbage sit for 30 minutes to 1 hour. You’ll see liquid start to pool at the bottom of the bowl. This is osmosis—salt draws moisture from the cells, creating a brine that will become your fermentation medium.
- Rinse the salted cabbage under cool water to remove excess salt, then squeeze gently with your hands to expel more moisture. You want it moist but not dripping.
Step 2: Make the Paste (15 minutes)
- In a medium bowl, combine gochugaru, minced garlic, minced ginger, and jeotgal (or fish sauce). Add a tiny pinch of sugar if your kitchen is cool.
- Mix in a splash of water or the liquid left in your cabbage bowl—you want a loose paste, not dry powder. This paste will coat each leaf and ferment alongside the cabbage.
- Taste the paste. It should be spicy, garlicky, and savory. Adjust to your preference now, before you jar it. Remember: fermentation will mellow it slightly but won’t make it much less spicy.
Step 3: Pack the Jar (10 minutes)
- Ensure your jar and lid are very clean—run them through hot soapy water or a dishwasher to kill potential bad bacteria.
- Take a cabbage quarter, peel away one outer leaf, and spread a thin layer of paste onto the inner surface. Fold the leaf back into place and repeat with the next leaf, working your way around each quarter.
- Place the packed cabbage quarter into the jar, cut-side down. Repeat until the jar is full, pressing gently so the cabbage is snug but not crushed.
- Pour any remaining paste over the top. The cabbage should be submerged under at least a thin layer of liquid. If it’s not, dissolve a pinch of salt in a little cool water and pour it in.
- Screw the lid on tightly and wipe the outside of the jar dry.
Step 4: Ferment at Room Temperature (3–7 days)
- Place the jar on your kitchen counter, away from direct sunlight. A pantry shelf is ideal.
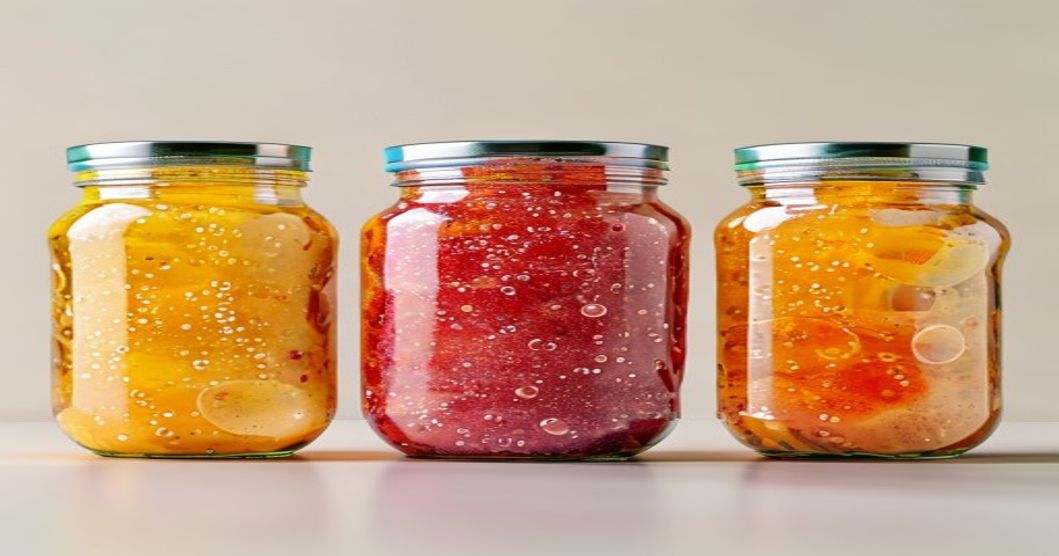
- Over the next 24 hours, you’ll notice condensation forming on the inside of the jar and possibly a little bubbling. This is the bacteria waking up and getting to work. If pressure builds, loosen the lid slightly for a few seconds to release gas, then tighten it again.
- Starting on day 2, taste the kimchi daily. Use a clean fork or chopstick (don’t use the same utensil twice without washing). You’re looking for a sour tang and a hint of funk—not vinegar-sharp, but noticeably fermented.
- By day 3 at 72°F (22°C), most home batches are past ‘slightly tangy’ and into ‘really good.’ By day 5, they’re deep and complex. The exact timeline depends on your kitchen temperature.
- Once it tastes right to you, seal the lid and move the jar to the fridge. Fermentation slows dramatically at cold temperatures, preserving your kimchi at that perfect level of sourness.
Troubleshooting: When Fermentation Stalls or Goes Wrong
Fermentation isn’t starting (no bubbles, no sour taste by day 3)
This usually means your kitchen is too cold, you used too much salt, or the jar wasn’t sealed well. Move the jar to a warmer spot—the top of your fridge (heat radiates up) or near a south-facing window (not in direct sun). If your kitchen is genuinely cold (below 65°F / 18°C), fermentation may take 7–10 days or longer. Be patient. If two weeks pass with no activity, your batch might be stuck; start over with fresh cabbage.
It smells like old socks or ammonia
This is usually over-fermentation or contamination from a non-clean jar. Bad smell doesn’t automatically mean it’s unsafe to eat—many strong-smelling kimchis are delicious—but taste a tiny amount first. If it tastes sour and savory with no off-flavors, it’s fine. If it tastes bitter or chemical, discard it and start fresh. The lesson: use a very clean jar and move your batch to the fridge as soon as it reaches your preferred sourness level.
White film or foam on top
That’s kahm yeast—a harmless film of wild yeast. It’s not mold (mold is fuzzy and green or black). Skim it off with a clean spoon and press your kimchi back under the brine. Kahm yeast is a sign of a healthy, alive ferment.
The cabbage tastes mushy or falls apart when you eat it
Fermentation softens cabbage naturally, but if it’s falling apart, you may have fermented too long or at too high a temperature. Move your jar to the fridge sooner next time. Once cold, fermentation slows and the texture stabilizes.
Speeding Fermentation Without a Commercial Starter
If your kitchen runs cool or you’re impatient, a few tweaks can nudge fermentation along.
Use more jeotgal or fish sauce. Aim for 2 tablespoons per head instead of 1. The amino acids feed bacteria faster. The flavor will shift slightly—more umami, less subtle—but many Korean home cooks use generous amounts anyway.
Add a pinch of sugar. Just 1 teaspoon per head gives bacteria simple carbohydrates to burn through. Don’t overdo it—too much sugar feeds bad bacteria too, and your kimchi becomes cloying.
Warm the kitchen slightly. If you have a sunny windowsill, placing the jar there (but not in direct UV, which breaks down color and flavor) can warm the ferment. Alternatively, sit the jar on a shelf next to a heat source—a radiator or warm appliance. Aim for 70–75°F (21–24°C) if possible.
Use fresher cabbage with visible moisture. Older, drier cabbage ferments slower because the bacteria have less juice to work with. Choose cabbages that feel heavy for their size—that means more water content.
These tricks shave 1–2 days off fermentation, not 5. Fermentation biology moves at its own pace; you can encourage it, but you can’t force it past a point. And honestly, waiting for proper fermentation produces better, more stable flavor than rushing it.
Storing Your Kimchi for Long Shelf Life
Once fermented, refrigerate it. Kimchi keeps for months in the fridge—often 3–6 months, sometimes longer. The cold stops fermentation almost entirely, but it doesn’t kill the bacteria; they just slow down. Every time you open the jar and dip a spoon in, you’re introducing a tiny bit of oxygen, which can cause slow additional fermentation and browning of the top leaves. Minimize air exposure by packing the jar tightly and using a clean utensil every time.
If mold (actual fuzzy blue, green, or black fuzz) ever appears on the surface, discard the batch. That’s contamination you can’t recover from. Normal fermented kimchi should never have visible mold.
What You Can Do With Fast-Fermented Kimchi
Once you’ve got a jar of homemade kimchi, you’re not limited to eating it as a banchan (side dish). Use the liquid to make kimchi-jjigae (kimchi stew)—a warming, sour broth perfect for cold nights. Chop it into fried rice or stir-fries. Layer it into grilled cheese for a Korean-Western hybrid that somehow works. Pulse it into a marinade for pork belly. The funk and sourness pairs with almost anything savory, and homemade batches (because you control salt and heat level) are more versatile than store-bought jarred versions.
When to Reach for Commercial Starters (and When to Skip Them)
A commercial fermentation starter like white miso or a lactobacillus culture powder guarantees faster, more predictable fermentation. If your kitchen is below 65°F (18°C) year-round or you’re fermenting in winter, a starter can cut fermentation from 10 days to 5. But for most home cooks with rooms in the 68–75°F range, starters are unnecessary expense. The flavor trade-off is minimal—homemade wild fermentation tastes just as good as starter-driven fermentation, just slower. Save your money and wait.
Related Guides for Your Kimchi Journey
If you’re making kimchi for kids or want to dial back the heat, check our guide on gochugaru alternatives and mild kimchi recipes. And once you’ve mastered napa cabbage, many home cooks move on to radish and seafood broths—we’ve compiled the best Korean fish cake brands for homemade broth if you want to elevate your banchan game further. For storing and cooking with your fermented vegetables, a quality Korean rice cooker (which doubles as a gentle warming box for ferments) is worth exploring—see our buyer’s guide to rice cookers for perfect texture.
Fermenting kimchi at room temperature without commercial starter is straightforward if you follow three rules: use clean jars and proper salt (2–2.5% by weight), keep your kitchen warm (68–75°F is ideal), and taste daily after day 2 to catch your preferred level of sourness. Most home batches are ready in 3–7 days. The result—funky, complex, alive kimchi—tastes nothing like the refrigerated supermarket version. Start with napa cabbage, nail the process, and you’ll be fermenting radish, cucumber, and other vegetables before long. Patience pays off.
Frequently Asked Questions
See FAQ section above for detailed answers on starter cultures, fermentation timeline, ingredient substitutions, safety, and water quality.
Disclosure: This article contains affiliate links. As an Amazon Associate, I earn from qualifying purchases. When you click a link to purchase ingredients or equipment mentioned here, I may receive a small commission at no extra cost to you. This helps support the site and allows me to keep writing guides like this one. All recommendations are based on practical kitchen experience and honest assessment.