How to Make Kimchi Less Spicy for Kids: Gochugaru Alternatives & Mild Recipes
Disclosure: This post may contain affiliate links. We may earn a commission on qualifying purchases at no extra cost to you.
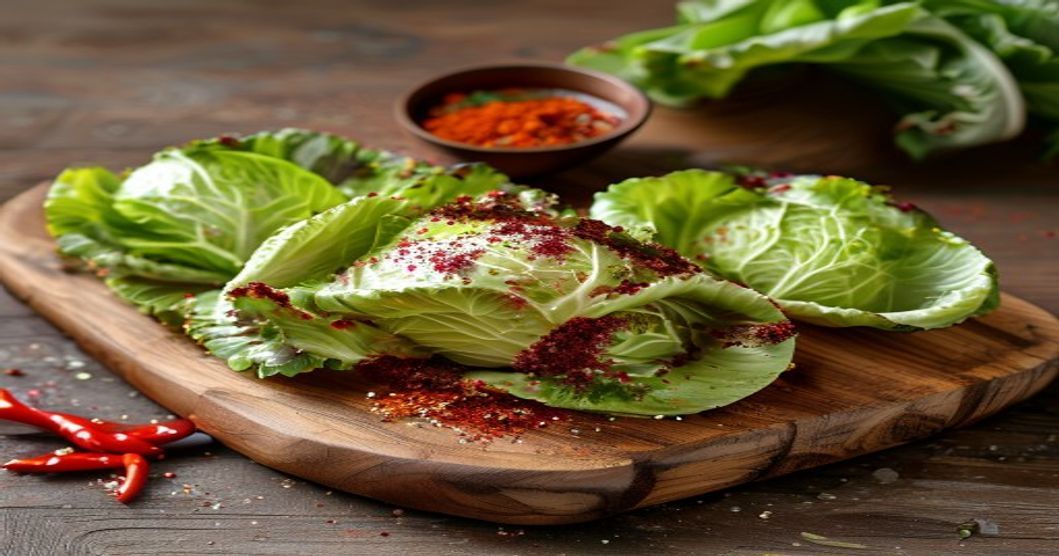
Here’s what most parents get wrong about kimchi and heat: they assume the only way to make it milder is to water it down or skip it altogether. That’s a missed opportunity. The reality is that heat in traditional kimchi comes almost entirely from one ingredient—gochugaru (Korean red chili flakes)—and swapping that out opens up a whole family of gentler, still-delicious fermented vegetables that kids will actually eat alongside their rice.
The Biggest Mistake: Confusing Heat with Flavor
Parents often think that if they remove the chili kick, kimchi becomes bland. Wrong. Gochugaru does two things: it adds heat AND it adds a fermented, slightly sweet undertone that develops during fermentation. When you swap it for something milder, you’re not losing flavor—you’re redistributing it.
The fermentation process itself is what builds complexity: salt draws out cabbage’s natural moisture, beneficial bacteria (especially Lactobacillus) multiply, and acids develop that create sourness and depth. That magic happens regardless of whether you used tongue-numbing chili or gentle paprika. What you’re actually doing is letting your kids taste the fermentation—the tang, the salt, the umami from fish sauce and garlic—without the heat overshadowing everything.
Top Gochugaru Alternatives for Mild Kimchi
1. Sweet or Smoked Paprika (The Gentlest Swap)
Paprika is your easiest win. It’s a powdered dried bell pepper with virtually zero Scoville heat (unless labeled as “hot paprika,” which you won’t use here). Sweet paprika adds a mellow, slightly fruity undertone; smoked paprika brings a woodsy depth that mimics some of the fermented complexity of gochugaru.
Use a 1:1 ratio in place of gochugaru. A small handful of gochugaru (roughly 3-4 tablespoons for a standard 2-pound batch) becomes 3-4 tablespoons of paprika. The color will be softer—less vivid red, more brownish-red—but the fermentation will still produce a tangy, satisfying dish. The trade-off: paprika lacks the subtle fermented funk of real gochugaru, so your kimchi tastes fresher and sweeter rather than complex and umami-forward. Most kids prefer this.
2. Red Bell Pepper Powder (Fresh and Bright)
Dried red bell pepper powder (find it online or in specialty spice sections) is sweeter and brighter than paprika. It adds almost no heat and ferments into a lighter, more vegetable-forward flavor. Again, use a 1:1 swap. Your kimchi will taste almost like a mildly fermented red pepper pickle, which works wonderfully for kids who are just starting out on fermented foods.
One tip: bell pepper powder sometimes clumps. Mix it into the fish sauce and a bit of salt first to create a smooth paste before adding it to your cabbage. This distributes it evenly.
3. Kashmiri or Aleppo Chili (Very Mild Heat, Still Fermented)
If your kids can tolerate a whisper of heat, these are steps up from paprika. Kashmiri chili powder is fruity and mildly warm (around 1,000-2,000 Scoville units, compared to gochugaru’s 5,000-8,000). Aleppo chili is tangy and medium-warm with a slightly sour edge that mimics fermented depth.
Use half the amount you’d normally use of gochugaru—so 1.5 to 2 tablespoons instead of 3-4—and taste after day 2 of fermentation. You can always let it ferment longer to develop more sourness, which balances residual heat.
4. Dried Red Chili (Whole, Not Powder—A Technique Hack)
Instead of ground chili, use 2-3 whole dried red chilies (like dried cayenne or Thai bird’s eye, but milder varieties). Toast them lightly to release oils, then add them whole to your fermentation jar. They flavor the brine gradually without overwhelming it, and you can fish them out after 3-4 days if the heat is building. This method gives you control: you can taste daily and remove them when the spice level hits your family’s sweet spot.
A Simple Mild Kimchi Recipe (Napa Cabbage Base)
This is a framework, not a rigid formula. The percentages matter for fermentation chemistry, but everything else can flex based on what your kids tolerate.
Ingredients
- 1 large head napa cabbage (about 2-2.5 pounds), quartered lengthwise
- 3 tablespoons sea salt (for brining)
- 3-4 cups water (for brine)
- 3 tablespoons paprika or red bell pepper powder (NOT gochugaru)
- 2 tablespoons fish sauce (or tamari/soy sauce if avoiding fish sauce)
- 6-8 garlic cloves, minced (or 1 tablespoon garlic paste—kids often prefer paste because it disperses evenly)
- 1 tablespoon ginger, minced (reduce to 1 teaspoon if your kids dislike strong ginger)
- 1 teaspoon sugar (optional, balances saltiness)
- 2-3 green onions (scallions), cut into 1-inch pieces
- ½ teaspoon sesame seeds (toasted, for texture)
Steps
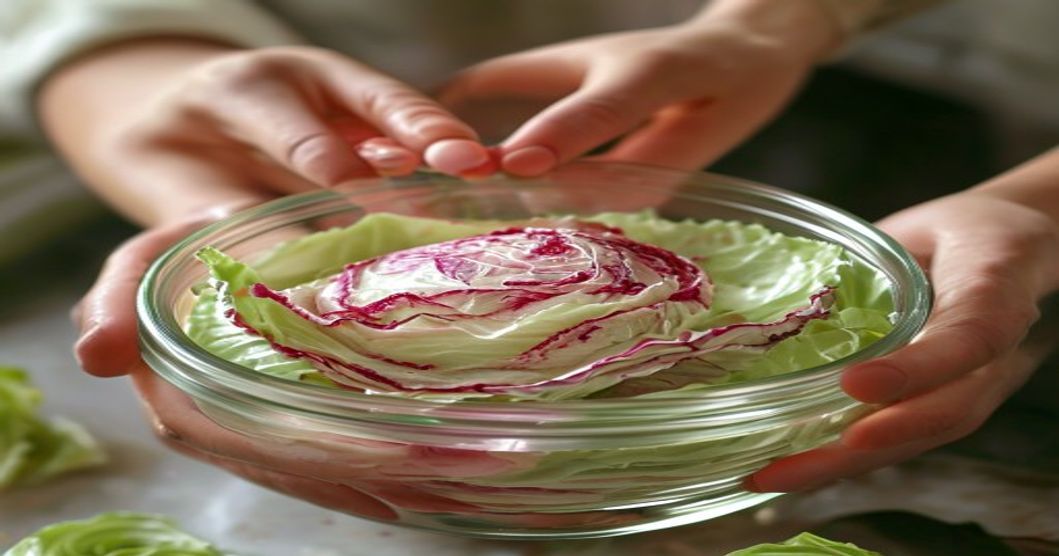
- Brine the cabbage. Dissolve 3 tablespoons salt in 3-4 cups water. Submerge cabbage quarters in a large bowl. Let sit 2-4 hours at room temperature. This softens the leaves and begins the osmotic process that draws out water. Rinse and drain thoroughly after brining—this step is non-negotiable; excess water dilutes your fermentation.
- Make the seasoning paste. In a small bowl, whisk together paprika, fish sauce, minced garlic, minced ginger, sugar, and 2-3 tablespoons water to form a smooth paste. Taste it before you add it to cabbage. If it’s too salty or gingery for your palate, dial back those ingredients by 20-30%. This is your chance to adjust without wasting cabbage.
- Layer the cabbage. In a clean jar (glass or ceramic), lay down a layer of drained cabbage leaves. Smear a small amount of paste between the leaves—not too much; you want coating, not drowning. Add another layer of cabbage, more paste, repeat until the jar is full. Leave 2 inches of headspace.
- Pack and press. Use a clean spoon or small tamper to press down gently. The cabbage will release liquid over the next 6-12 hours and submerge itself. If it’s not fully submerged by tomorrow, add a small amount of extra brine (2-3 tablespoons salt dissolved in 1 cup water). Submerged = safe. Exposed to air = risk of mold.
- Ferment. Leave the jar at room temperature (around 65-72°F / 18-22°C) uncovered or with a loose lid. Taste after 2 days. After 3 days, it’s usually mild and tangy. By day 5, it’s noticeably sour. Most families with kids prefer the 2-3 day window. Once you like the flavor, close the lid and move it to the refrigerator to slow fermentation dramatically.
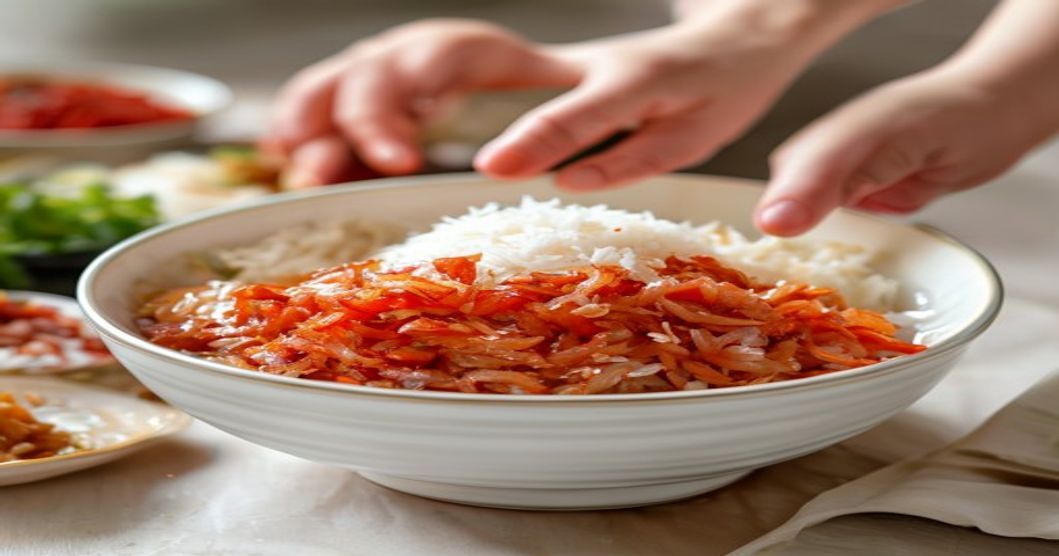
- Serve. Chop into bite-sized pieces. Serve alongside rice, in bibimbap (Korean mixed rice bowl), or chopped into soups. A small spoonful per meal is enough; kids don’t need huge portions.
Why Mild Kimchi Still Works for Fermentation
You might worry that less chili means less effective fermentation. Not true. Heat and fermentation are separate things. Gochugaru doesn’t ferment the cabbage; salt and natural bacteria do. The chili’s only job in traditional kimchi is to:
- Add preservative power (though salt already does this)
- Add flavor
- Add heat
Swap out the chili, keep the salt ratio, and fermentation proceeds identically. Your mild kimchi will develop sourness, tang, and complexity right on schedule. The only thing that changes is the taste profile—and intentionally making it gentler is exactly what you want for kids.
Serving Mild Kimchi to Kids: Real-World Tips
Introduce it early and often. Fermented flavors are an acquired taste. Kids exposed to fermented foods regularly (even in tiny amounts—a teaspoon mixed into rice) develop a taste for them faster than kids who are offered fermented foods once a year as a “try this” moment.
Mix it into dishes, don’t serve it solo. A small handful of chopped mild kimchi mixed into warm rice, stirred into scrambled eggs, or folded into a simple noodle dish tastes less intense than a spoonful eaten straight. The fermented flavor spreads across a larger volume and feels gentler on the palate.
Pair it with something bland. Rice, white bread, or a mild stew mutes fermented intensity. If your child eats 2 bites of kimchi alongside a bowl of plain rice, they’ve had enough exposure to start building familiarity.
Don’t force it. Some kids won’t like fermented foods, even mild ones. That’s normal. Offer it without pressure, keep making it for your own meals, and revisit it in a year or two.
Other Kid-Friendly Fermented Vegetables to Try
If your family isn’t ready for kimchi yet, start with even gentler fermented vegetables that use the same technique but with flavors kids recognize:
Radish (Mu) Kimchi or Pickles: Daikon radish is milder and slightly sweet. Ferment it with paprika, salt, and a touch of garlic for a tangy crunch that feels less challenging than fermented cabbage.
Cucumber Ferments: Fermented cucumber spears with dill, garlic, and minimal salt mimic the flavor of cold dill pickles but with live probiotics. Many kids who reject traditional kimchi will eat these.
Simple Vegetable Ferments (No Chili At All): Carrot sticks, green beans, or cauliflower florets fermented with just salt, garlic, and herbs develop sourness without any spice ingredient. They’re an excellent stepping stone.
These are all covered in fermentation basics: proper salt ratio (2-5% by weight of vegetables), submerged in brine, and a clean jar. The fermentation timeline is the same.
Buying Mild Ingredients: What to Look For
You don’t need specialty Korean brands to make mild kimchi. Paprika, red bell pepper powder, and basic fermentation supplies are available at most grocery stores or online retailers. Check labels for:
- Paprika: Buy “sweet” or “smoked” explicitly. Avoid “hot paprika.” It should list paprika as the only ingredient (sometimes with anti-caking agent, which is fine).
- Fish sauce: Essential for umami. Look for a short ingredient list (usually just anchovies and salt). Brands widely available online include the classic anchor-marked bottles.
- Garlic and ginger: Fresh is best; frozen minced is second-best; jars of paste are third-best but still workable. Avoid garlic powder for fermentation—it becomes bitter.
- Sea salt (not iodized): Fermentation needs salt without additives. Regular table salt has iodine and anti-caking agents that can interfere with fermentation or cloud your brine.
- Jars: Any clean glass jar works. No special equipment needed. Avoid metal lids that touch the brine directly (they can corrode). Use silicone or parchment as a barrier, or just leave the lid loosely on.
If you want to explore Korean fish cake brands for making fermented broths to pair with your kimchi, or invest in a rice cooker to perfectly cook rice for serving alongside, we have guides for those too—best Korean fish cake brands for homemade broth and best Korean rice cooker for sushi rice cover those topics deeply.
Troubleshooting Mild Kimchi
It tastes too bland after fermentation. Your salt ratio was too low, or your garlic/ginger was too timid. Next batch: add 1 extra clove of garlic and a larger pinch of ginger to the paste. Or ferment 1-2 days longer to develop more sourness. Sour balances bland.
White fuzz or mold appeared on top. If it’s a thin white layer just at the surface (kahm yeast), it’s harmless but tastes musty—skim it off. If it’s fuzzy or dark mold, the batch is exposed to air and contamination; discard it. Always keep vegetables submerged.
It’s still too sour after just 2 days. Your room is warmer than 72°F. Fermentation speeds up in heat. Move the jar to a cooler corner (a pantry, basement, or the back of a fridge shelf that’s not quite as cold as the front). Or just taste every 12 hours and refrigerate as soon as you like the flavor.
Kids still won’t eat it. Reduce fermentation to 1 day. At 1 day, mild kimchi tastes almost like a fresh, salty, tangy cabbage salad with barely any sour funk. Serve it at room temperature (not cold), mixed into warm rice. Add a tiny drizzle of sesame oil to make it richer. If they still refuse, stop pushing and try again in 6 months.
Who This Is For / Who It’s Not For
This guide is for you if:
- You eat kimchi regularly and want to introduce it to kids without the fire-breathing aftermath
- Your family tolerates fermented flavors but not heat specifically
- You’re curious about fermentation and want a low-stakes, tasty project
- Your kids are picky eaters and you’re looking for one more vegetable option that actually works
- You have access to basic grocery-store ingredients and don’t want to hunt for specialty Korean-market-only items
This guide is NOT for you if:
- You’re trying to recreate the exact flavor of restaurant-grade kimchi with maximum complexity—mild kimchi tastes noticeably different, which is the point
- Your kids actively dislike salty or sour flavors (fermentation is both)
- You want a quick meal (fermentation takes at least 2 days; if you need kimchi in 2 hours, buy it fresh or make a quick pickled slaw instead)
- You’re uncomfortable with fermentation safety or live cultures—though fermentation is genuinely safe, uncertainty makes it stressful
- Your family’s diet completely excludes umami-forward ingredients like fish sauce and fermented vegetables (that’s fine; this guide isn’t for you)