How to Make Kimchi with Daikon Radish and Apple: Sweet and Spicy Fermented Side Dish
Disclosure: This post may contain affiliate links. We may earn a commission on qualifying purchases at no extra cost to you.
Daikon radish kimchi is the sidekick that doesn’t get enough credit. While napa cabbage kimchi hoards the spotlight, this peppery, pale-hued ferment sits quietly in bowls at Korean tables—crisp, tangy, and utterly addictive. Add apple to the mix, and you’ve got something that tastes like a sophisticated collision between sweet orchard fruit and fiery Korean chilies. If you’ve ever thought kimchi had to be a heavy, funky bomb of funk, this is your gateway drug into understanding the real range of fermented vegetables.
Daikon radish and apple kimchi ferments in 3–5 days at room temperature, stays crunchier than cabbage kimchi, and tastes refreshingly balanced between sweet and spicy. You need just six ingredients, a clean jar, and patience. It’s easier than napa cabbage kimchi because daikon doesn’t require blanching.
Who This Recipe Is For
This is for home cooks who want to make kimchi without committing to the hours-long labor of whole-head napa cabbage ferments. It’s for anyone who’s tired of store-bought kimchi being either too fishy, too expensive, or both. If you grow daikon in your garden or found a bundle at the farmers market and have no idea what to do with it, this recipe transforms it into something restaurant-quality that you’ll actually crave.
You don’t need to be a fermentation expert. The first time you make this, you’ll be shocked at how little can go wrong.
Ingredients You’ll Need
The backbone of daikon radish kimchi is simple: the vegetable itself, salt, gochugaru (Korean fermented red chili flakes), garlic, ginger, and a sweetener. The apple is your wild card. Here’s what to gather:
- 2 pounds fresh daikon radish (about one medium root or two small ones)—look for firm, unblemished white radish at an Asian grocer or well-stocked supermarket
- 1 medium apple (Honeycrisp, Fuji, or Gala work best; avoid Granny Smith, which gets mealy)—the natural sugars matter
- 3 tablespoons gochugaru (Korean red chili flakes)—buy from an online Korean market or check Amazon for single-origin brands
- 6 cloves fresh garlic, minced finely
- 1 tablespoon fresh ginger, peeled and minced (don’t skip this; it prevents unwanted molds)
- 2 teaspoons sea salt (plus extra for the initial salting step)
- Optional: 1 teaspoon fish sauce or 1 tablespoon soy sauce (for umami depth)
If you stock your pantry with Korean staples, you’ll likely have gochugaru and garlic on hand. The apple and daikon are the only items you might need to hunt for, and both are increasingly available in mainstream grocery stores.
Step-by-Step Instructions
Step 1: Prep and Salt the Daikon
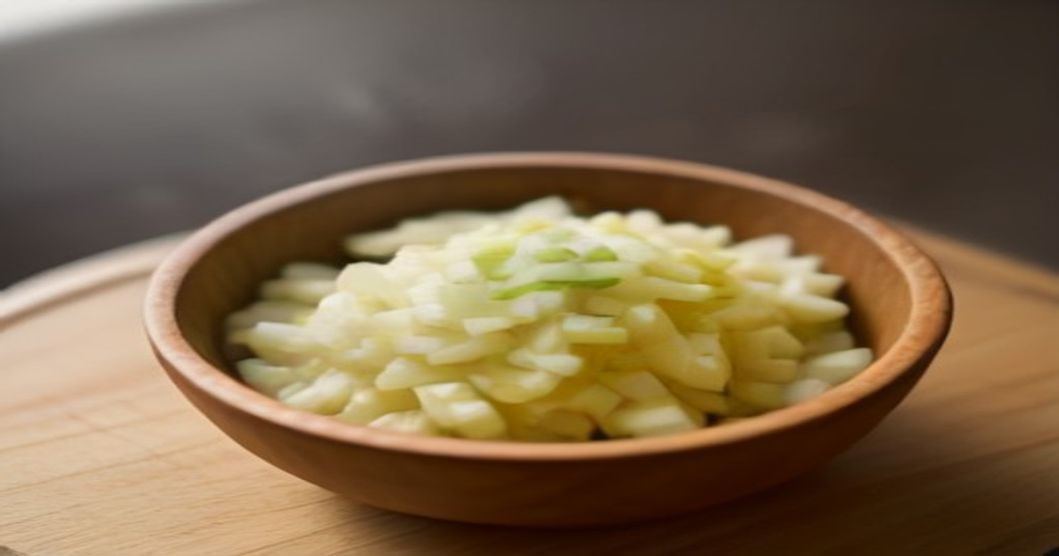
Wash the daikon under cold running water and peel away the thin white skin with a vegetable peeler or sharp knife. Cut the peeled daikon into matchstick-thin batons, about the thickness of a wooden toothpick and 2–3 inches long. This matters because thinner pieces ferment faster and more evenly. Thicker chunks will take longer and might end up slightly tough on the outside.
Place the cut daikon in a large, non-reactive bowl (glass or ceramic—avoid aluminum or cast iron, which can react with the salt). Sprinkle roughly 1 tablespoon of sea salt over the daikon and toss well. Let it sit for 20–30 minutes at room temperature. You’ll see liquid begin to pool at the bottom of the bowl. This is osmosis at work: the salt is drawing moisture out of the vegetable’s cells, which softens it just enough to make it more receptive to fermentation.
Pro tip: After the 30-minute rest, taste a piece of daikon. It should taste pleasantly salty, like a chip. If it’s too aggressive, rinse gently with cool water and squeeze dry in a clean kitchen towel. Don’t over-rinse, though—you want to preserve some of the salt for fermentation.
Step 2: Make the Gochugaru Paste
While the daikon rests, peel and finely mince your garlic and ginger. You want pieces small enough that they won’t be gritty when you bite into the finished kimchi. In a small bowl, combine the gochugaru, minced garlic, minced ginger, 2 teaspoons sea salt, and fish sauce or soy sauce (if using). Add 2 tablespoons of filtered or boiled water to create a loose paste—not dry, not soupy.
The gochugaru paste is what brings the color, heat, and fermentation power. Don’t skip the ginger; it acts as a natural preservative and prevents unwanted bacterial growth during the ferment.
Step 3: Prepare the Apple
Peel your apple, remove the core, and cut it into thin matchsticks or small dice—roughly the same size as the daikon pieces. The goal is for the apple to ferment at the same rate as the radish. Toss the apple pieces with a tiny pinch of salt and set aside. If your apple is particularly juicy, you can gently squeeze out excess liquid before mixing it with the daikon.
Step 4: Combine and Pack
Now it’s assembly time. Drain any excess liquid from the salted daikon (save it; you might need it later). Place the daikon in a clean glass jar, layering it with the gochugaru paste and apple pieces. Use clean hands or a spoon to gently pack everything down, making sure the paste coats all the vegetable pieces evenly. The goal is a cohesive mixture, not a pile.
Pour the reserved daikon liquid back over the top. The vegetables should be mostly submerged or at least touching enough paste that they won’t dry out. If you’re short on liquid, add a splash of filtered water mixed with a pinch of salt. Some submersion matters to prevent mold, though daikon’s natural moisture usually solves this.
Equipment note: A half-quart or quart glass jar works perfectly. If vegetables float above the brine, you can weigh them down with a clean glass weight, a piece of plastic wrap tucked under the rim, or even a whole daikon leaf folded into the top. Submerged = no mold.
Step 5: Cover and Ferment
Loosely cover the jar with a clean cloth or a lid that’s not screwed down tight. Fermentation produces carbon dioxide gas, so an airtight seal can cause the jar to pressurize or even crack. A loose cloth cover lets gas escape while keeping dust and insects out.
Place the jar on a kitchen counter away from direct sunlight and heat sources. Room temperature (around 68–72°F) is ideal. You’ll see tiny bubbles rising after day two—that’s the good bacteria (Lactobacillus) getting to work. By day three or four, the kimchi will taste noticeably tangy. If your kitchen is warmer, fermentation happens faster. If it’s cool, add a day or two.
Taste a piece every 24 hours starting on day three. When it reaches your preferred sourness, screw the lid on tight and move it to the fridge. Refrigeration slows fermentation dramatically, so your kimchi keeps for three to four weeks—though it’ll likely vanish faster because it’s so good.
Why Daikon and Apple Make Sense Together
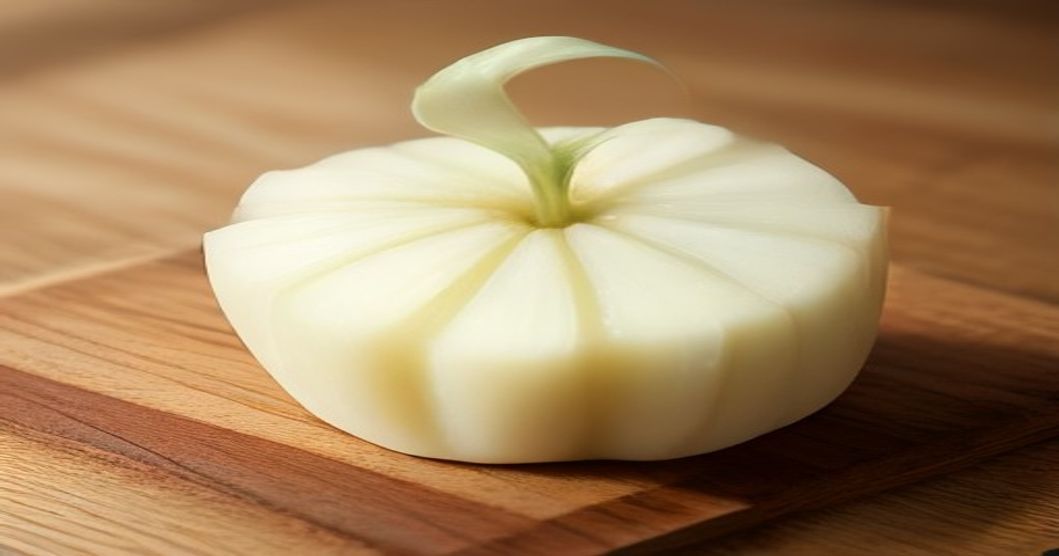
Daikon radish has a clean, peppery bite that’s softer than other cruciferous vegetables. It’s mild enough to let other flavors shine, which is why it pairs brilliantly with apple’s natural sweetness. The sugar in the apple ferments alongside the daikon’s natural compounds, creating a balanced, complex taste that tastes like more than the sum of its parts.
This is different from napa cabbage kimchi, which we have a full guide to making napa cabbage kimchi with gochugaru here. Napa cabbage is earthier and denser; it demands longer fermentation and more aggressive seasoning. Daikon is the sprinter.
The apple also acts as a natural preservative. Its sugars feed the fermentation bacteria while its pectin helps maintain crunch—you’ll bite into a piece of daikon after a week and still get that satisfying snap, unlike cabbage, which softens over time.
Common Fermentation Mistakes to Avoid
- Saltiness out of balance: Too much salt will slow fermentation; too little invites mold. Aim for that chip-like taste before fermentation begins.
- Using old gochugaru: Stale chili flakes lose heat and flavor. Buy fresh from a Korean market (turnover is faster) or check the color—it should be bright red, not brownish.
- Vegetables floating above the brine: This is how mold gets in. Submerge or weight them down.
- Sealing the jar too tightly early: Fermentation gas needs to escape, or you risk the jar cracking.
- Fermenting in direct sunlight: Light degrades the color and can encourage unwanted algae growth. A dark corner of the kitchen is best.
Storage and Serving Ideas
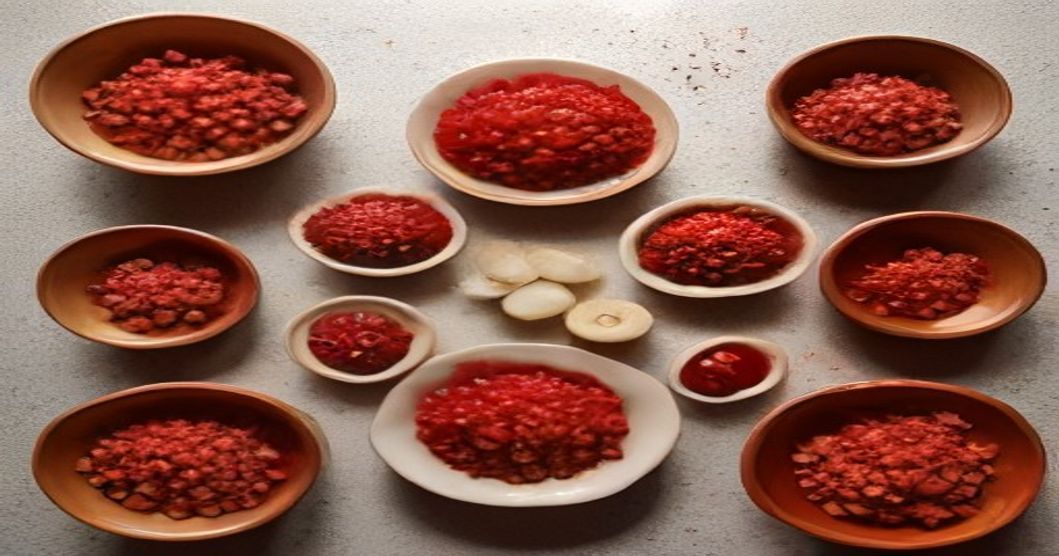
Once your daikon radish kimchi reaches the fridge, it’ll keep for three to four weeks, though the flavor continues to develop—sometimes it gets tangier, sometimes subtly more complex. Some people like their kimchi young and crisp (day 4); others prefer it sour and funky (week 3). There’s no wrong answer.
Serve it as a side dish (banchan) alongside rice, soups, or grilled meat. It pairs especially well with rich foods because its acidity cuts through fat. Chop it finely and stir into mayo for a spicy kimchi sandwich spread. Toss it into fried rice or egg fried rice in the last minute of cooking. Or simply eat it straight from the jar with a spoon at midnight, which is how most home fermenters do it.
The liquid left behind (called kimchi juice or brine) is liquid gold. Use it to dress salads, pickle eggs, or add tang to soups. Don’t discard it.
Building Your Korean Pantry
Once you’ve made this kimchi, you’ll want to stock your pantry with other essentials. We have a full breakdown of Korean pantry essentials and the ten ingredients every home cook needs to explore more authentic recipes. Gochugaru, soy sauce, gochujang (Korean fermented chili paste), and sesame oil are the backbone.
You’ll also find that Amazon and most Asian online markets stock glass jars, fermentation weights, and bulk gochugaru at prices better than specialty stores. Invest in a quality jar and you’ll use it endlessly.
Troubleshooting
My kimchi smells like sulfur or rotten eggs. This happens occasionally with rapid fermentation and isn’t necessarily a sign of spoilage. Smell closer: if it’s a strong, repulsive odor (not just funky-ferment smell), discard it. Healthy kimchi smells sour and garlicky, not putrid.
White mold appeared on top. If it’s just a thin film on the surface above the brine, skim it off and discard the top layer. If it’s fuzzy or the entire jar is colonized, throw it away. This usually happens because vegetables weren’t submerged.
My kimchi tastes bland. You probably didn’t use enough salt or gochugaru initially. Next time, taste the paste before fermentation—it should be assertively seasoned. You can also add a splash of soy sauce and a pinch more gochugaru to rescue a mild batch.
The daikon got mushy. Fermentation temperature was too warm (above 75°F). Move your jar to a cooler spot. Also, daikon that’s overly mature (large, pithy) ferments faster than young, firm daikon.
Why Make Your Own?
Store-bought kimchi often contains preservatives, excess sugar, and sometimes a fishy intensity that masks the vegetable’s actual flavor. Homemade daikon radish kimchi tastes brighter, fresher, and more balanced. You control the heat level, the salt, and the sweetness from the apple. Plus, fermented vegetables are teeming with beneficial bacteria that processed commercial versions can’t match.
And honestly, there’s something deeply satisfying about cracking open a jar you made yourself, tasting it, and realizing it’s better than anything you could buy. That’s the draw of fermentation—it’s cheap, it’s easy, and it tastes like care.
Daikon radish and apple kimchi is the shortcut to feeling like a serious fermentation cook without the labor of napa cabbage. It ferments in 3–5 days, stays crunchier, and tastes brighter. All you need is a jar, six ingredients, and patience. Start with one batch and you’ll be making it monthly. The apple adds complexity that elevates this from a simple side dish into something genuinely crave-able.
Affiliate Disclosure
This article contains affiliate links. We may earn a commission if you purchase ingredients or equipment through recommended links. As an Amazon Associate, I earn from qualifying purchases. All recommendations are based on genuine usefulness and value, not compensation.