How to Make Kimchi at Home: A Beginner’s Guide to Fermented Perfection
Disclosure: This post may contain affiliate links. We may earn a commission on qualifying purchases at no extra cost to you.
The biggest myth about homemade kimchi is that it’s complicated. People think you need special equipment, hard-to-find spices, or culinary school credentials. The truth? You probably have everything already—a jar, some cabbage, salt, and patience. The fermentation part, which scares most people, actually does the heavy lifting for you. Beneficial bacteria do the work; you just create the right environment and check in now and then.
Kimchi ferments in 3–5 days at room temperature using just napa cabbage, salt, gochugaru (Korean red chili flakes), garlic, ginger, and fish sauce. The key is brining the cabbage first, packing it tight in a jar, and letting time and temperature do the rest. Start with day 2 tastings—you control the final tang.
The Essential Ingredients and Why They Matter
Before you buy anything, understand what each ingredient brings. Napa cabbage is the traditional base because it has a tender, juicy texture and ferments predictably. The leaves are thin enough to absorb brine but sturdy enough to stay crisp. Gochugaru (Korean fermented chili flakes) is not the same as generic chili powder—it has a fruity, slightly smoky flavor and a finer texture that distributes evenly. If you can’t find it locally, it’s easy to order online; a small bag lasts months.
Fish sauce sounds intimidating if you’ve never used it, but it adds umami depth without tasting fishy in the final product. It’s the secret to that savory, complex kimchi flavor. Garlic and ginger bring heat and sharpness that cuts through the brine. Fresh is always better than powdered, but if you only have powder, use about one-third the amount. Salt controls fermentation speed and kills bad bacteria while allowing good bacteria to thrive—use sea salt or kosher salt, not iodized table salt, which can cloud the brine.
Optional but popular additions include rice flour paste (dissolved in a little water to thicken the sauce), scallions (added fresh just before jarring), sesame seeds (sprinkled on top), and daikon radish (thin-sliced, adds crunch). These don’t change the fermentation—they’re flavor and texture tweaks.
Prepping the Cabbage: The Brining Step (This Is Not Optional)
This is where most beginner mistakes happen. People either under-salt or skip the brining entirely. Don’t.
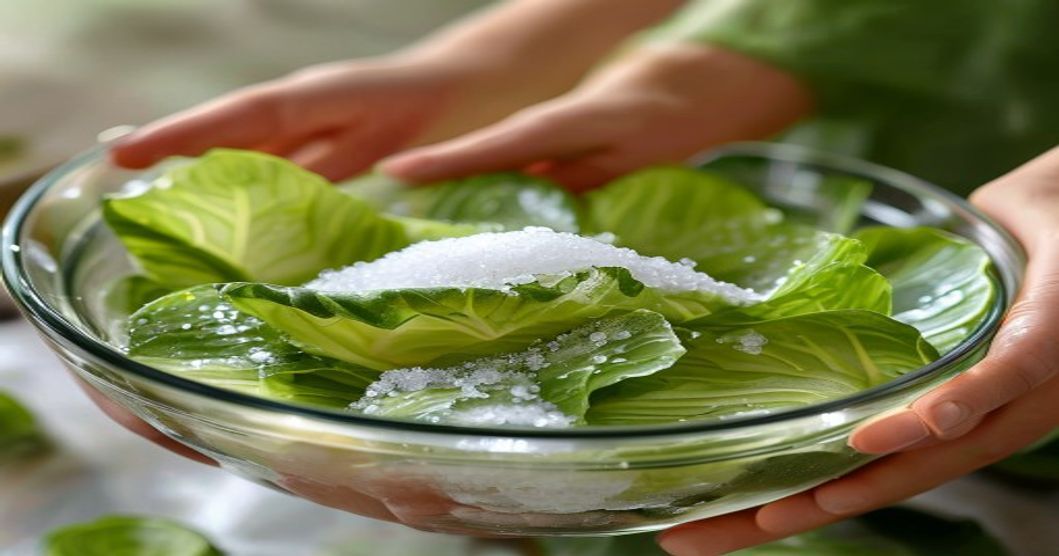
Cut your napa cabbage lengthwise into quarters, leaving the root end intact so the leaves stay together. Rinse thoroughly under cool water. In a large bowl, sprinkle salt generously between the leaves, working from the outside in. You’re aiming for about 2-3% of the cabbage’s weight in salt (roughly 2 tablespoons per small head, but honestly, taste as you go). The leaves should feel slippery and start releasing liquid after 5 minutes of massaging.
Let the salted cabbage sit for 1-2 hours at room temperature. You’ll see a pool of brine form—that’s osmosis working, drawing water out of the plant cells. This does two things: it softens the cabbage so it packs tighter in the jar (fewer air pockets = less chance of mold), and it creates an environment where lactic acid bacteria thrive while harmful bacteria struggle. Rinse the salted cabbage under cool water to remove excess salt, then gently squeeze out water without bruising the leaves. This is your clean slate.
The Spice Paste: Where Flavor Happens
While the cabbage brines, make the paste. Blend or finely mince together:
- 3-4 tablespoons gochugaru (adjust for heat preference)
- 4-5 cloves garlic, minced
- 1 tablespoon fresh ginger, minced
- 1-2 tablespoons fish sauce
- 1 teaspoon salt
- Optional: 1-2 tablespoons rice flour mixed with 3 tablespoons water (makes it creamier and helps it cling to the leaves)
This paste is thick, cohesive, and smells intensely of garlic and chili—that’s exactly right. Don’t water it down; you want the flavors to be concentrated so they develop during fermentation. Taste a tiny pinch on your finger. It should be salty, spicy, and aromatic. Adjust before you start packing.
Pro tip: If your paste smells sharp and almost unpleasant, that’s the raw garlic. Once fermentation begins and the bacteria warm up, those harsh edges soften and blend into a savory depth. Day 1 always smells stronger than day 5.
Packing and Fermenting: The Hands-On Part
Grab a clean glass jar (quart-size or larger) and start layering. This isn’t rocket science, but being methodical prevents sad, pale kimchi. Take a cabbage quarter, spread a generous spoonful of paste between each leaf—get in there, really coat them. Layer the cabbage in the jar, pressing down firmly as you go. Each layer should be packed enough that there’s no air gap, but not so hard that you crush the leaves.
Keep going until the jar is full and you’ve run out of cabbage. The brine will pool naturally as you pack. By the time you’re done, the cabbage should be submerged or nearly submerged. If it’s dry on top, add a splash of cool boiled water mixed with a pinch of salt (about 2% salt by weight—basically, salty enough to taste but not a pickle).
Here’s the critical part: keep the cabbage submerged. Use a smaller glass jar filled with water as a weight, or buy a fermentation lid. Cabbage exposed to air can develop mold; submerged cabbage is protected by the brine’s acidic environment. Leave the jar on your counter (not in direct sunlight) at room temperature, ideally between 65-72°F.
Fermentation Timeline and Tasting
Day 1-2: You might not see much happen. The brine will stay clear or slightly cloudy. If your kitchen is cool, fermentation might not start visibly until day 2. That’s normal. Resist the urge to open the jar and stir (you’ll introduce oxygen and mess with the environment).
Day 2-3: Small bubbles should be visible if you look closely, especially if you gently tilt the jar. The brine may start turning a deeper red as pigments leach from the chili. This is when you can open the jar and taste a small bite. It should taste salty and spicy but not yet tangy. If it tastes nearly done and you prefer less sourness, you can move it to the fridge now.
Day 3-5: Bubbling becomes obvious. The brine deepens to a rich red. The smell shifts from raw-garlic-forward to a complex, tangy, savory funk that actually smells delicious if you know what to expect. The cabbage softens slightly but should still have a slight crunch. Taste daily. When the tang is where you like it—more sour than salty, with balanced heat—it’s done. For most people, that’s day 4 or 5.
Day 5+: Move it to the fridge. Cold dramatically slows fermentation, so it won’t get exponentially more sour. It will continue to develop flavor slowly over weeks, but the rate of change drops to almost nothing once refrigerated. Kept cold, kimchi lasts 2-3 months, though most home batches disappear faster.
Troubleshooting: If your kimchi stays colorless and flat after 4 days, your kitchen might be too cold. Try moving the jar to a warmer spot (a kitchen cabinet near heat, not directly on a heat source). If you see fuzzy mold on top, the cabbage wasn’t submerged. Scoop out the moldy bit and any surrounding cabbage, then re-submerge what’s left—the rest is usually fine.
Flavor Variations Without Starting Over
Once you nail the basic technique, variations are easy. Try the mild kimchi with celery and sesame seeds version if you prefer less heat. Or branch into non-cabbage options like bok choy or daikon radish to see how different vegetables ferment. The paste recipe adjusts: more ginger for a spicy-sharp tang, less fish sauce for a lighter umami, extra rice flour paste for a thicker, creamier sauce.
Scallions, sesame seeds, and even a dab of gochugaru-infused oil can be stirred in after fermentation is done—these “fresh” toppings add brightness without affecting the fermentation itself. Experiment. Kimchi is forgiving.
Equipment to Make It Easier (But Not Essential)
A dedicated fermentation weight keeps cabbage submerged without thinking. A glass or ceramic fermentation jar with an airlock valve lets gases escape while keeping oxygen out—genuinely nice if you’re making large batches. A scale helps with salt ratios if you’re precise-minded. A food processor speeds up mincing garlic and ginger. But none of these are required. A mason jar, a plate weighted down by another jar filled with water, and a spoon are truly enough.
Storage and Using Your Kimchi
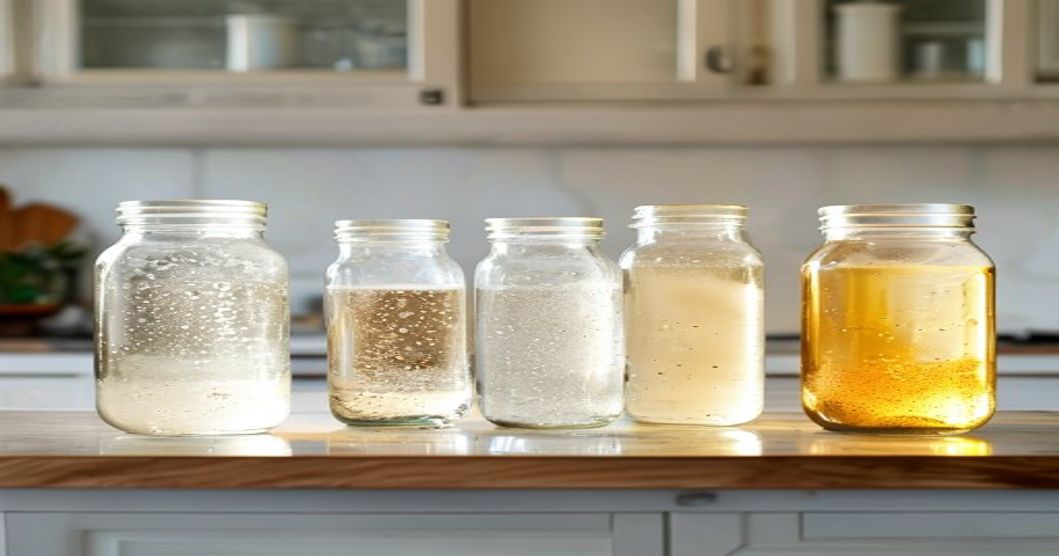
Once fermented and refrigerated, kimchi stays good for months. The cold preserves it, and the acidic brine prevents spoilage. Some people decant finished kimchi into smaller jars to open less frequently. Others just eat straight from the big jar. Both work.
Use it as a side dish (banchan), a condiment on rice, a topping for grain bowls, a fried rice ingredient, or a flavor bomb in stews and soups. The brine itself is liquid gold—add it to vinaigrettes, soups, or even a Bloody Mary. Nothing is wasted.
Common Mistakes and How to Avoid Them
- Under-salting the cabbage: This leads to slow fermentation and mushy texture. Be generous with salt during the brine step; you’re rinsing most of it away anyway.
- Failing to keep the cabbage submerged: Mold loves air. Use a weight or press down every couple of days.
- Fermenting in direct sunlight: Light can degrade color and flavor. A cabinet or dark pantry is ideal.
- Impatience and constant opening: Each time you open the jar, you introduce oxygen and mess with the environment. Taste after day 2, then wait.
- Skipping good salt: Iodized table salt can make the brine cloudy and off-tasting. Use sea salt or kosher salt.
- Using pre-minced garlic from a jar: Fresh garlic ferments better. Pre-minced often contains additives that can interfere.
Making kimchi at home is less science than it seems—it’s really just fresh cabbage, a salty brine, flavorful paste, and time. Brine your cabbage well, pack it tight in a jar with your spice mixture, keep it submerged, and taste starting on day 2. By day 4 or 5, you’ll have tangy, complex, genuinely delicious kimchi that tastes way better than most store-bought versions. The supplies—gochugaru, fish sauce, a good jar—are inexpensive and last for many batches. Stop overthinking and jar your first batch this week.
Affiliate & Disclosure
This article contains affiliate links. If you purchase through an Amazon link, I earn a small commission at no extra cost to you. As an Amazon Associate I earn from qualifying purchases. These commissions help support the site and allow me to continue writing honest food guides.