How to Make Kimchi with Radish and Apple: A Homemade Sweet and Mild Fermented Recipe
Disclosure: This post may contain affiliate links. We may earn a commission on qualifying purchases at no extra cost to you.
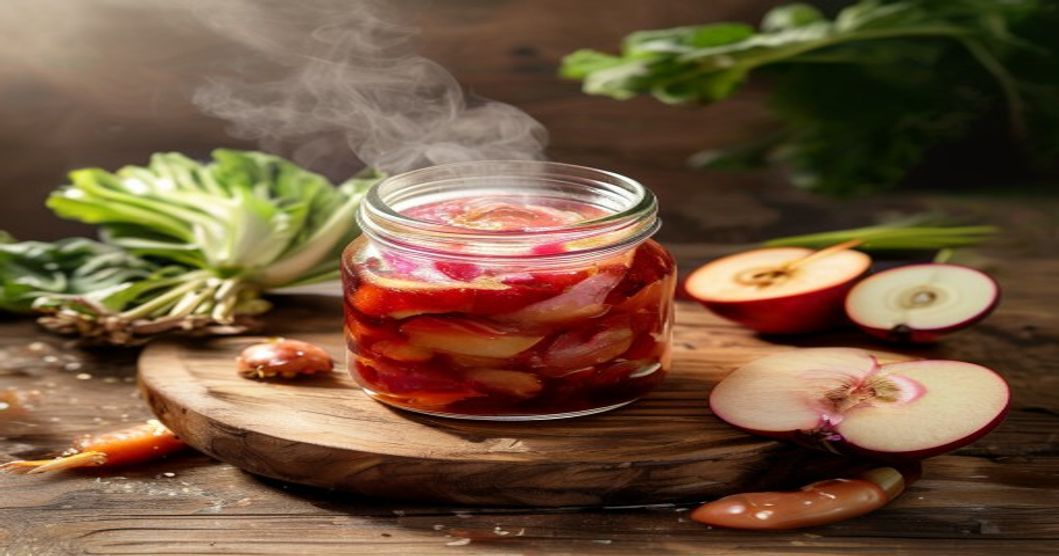
Most people think radish kimchi has to be aggressively spicy, mouth-numbing, and intensely garlicky. That’s a myth. The reality? A mild, apple-sweetened radish kimchi is often easier for beginners to master, naturally balanced, and endlessly flexible for different palates. The apple isn’t just garnish—it ferments into the brine, softening heat and adding a subtle sweetness that makes this side dish genuinely addictive even if you shy away from fiery kimchi.
Radish and apple kimchi ferments faster than cabbage varieties, takes 3–5 days at room temperature, and tastes best when apple juice has mingled with the brine. Start with less gochugaru (Korean red chili flakes) than you think you’ll need—you can always add more heat later, but you can’t undo it.
Why Radish and Apple Is the Beginner’s Best Move
Daikon radish (the long white Asian radish) has a crisp texture that holds up beautifully through fermentation without turning mushy. Napa cabbage, which most people start with, is forgiving but bulky and requires a larger jar. Radish kimchi uses less produce, fits in a small vessel, and ferments completely in under a week.
The apple—particularly a Granny Smith or Honeycrisp—isn’t a gimmick. As it ferments, the apple breaks down and sweetens the brine naturally, creating a rounded flavor that doesn’t need a ton of sugar or fish sauce to taste complete. If you’ve ever found shop-bought kimchi too harsh or too salty, this approach softens those edges.
What You’ll Need: Ingredients
Keep it simple. The magic is in the proportion, not a laundry list of obscure items.
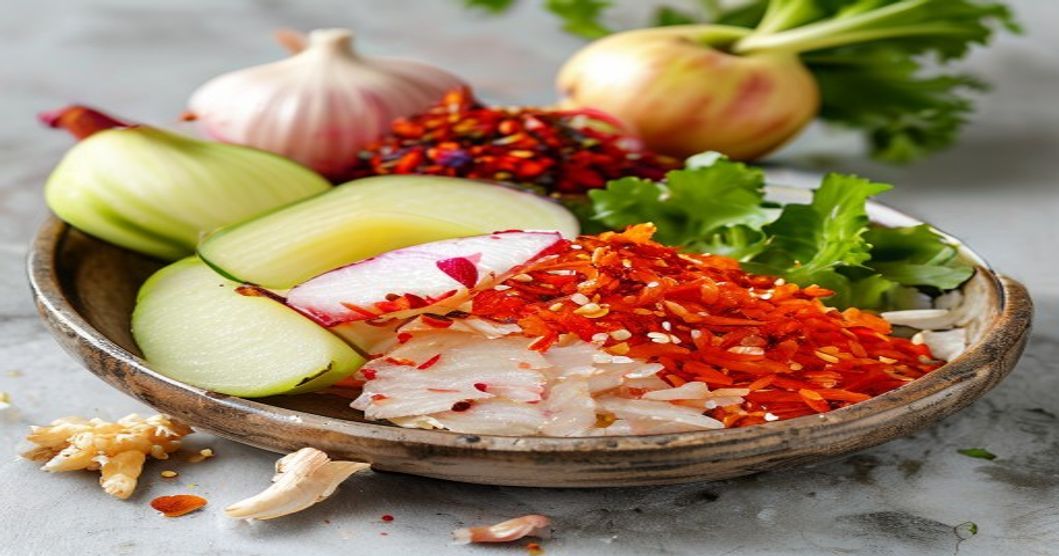
- 1 lb (about 450g) daikon radish, peeled and cut into matchsticks (about ¼-inch wide)
- 1 medium Granny Smith or Honeycrisp apple, peeled, cored, and julienned the same size as the radish
- 3 tablespoons sea salt (not iodized table salt)
- 2 tablespoons gochugaru (Korean red chili flakes; start here, adjust later)
- 4 cloves garlic, minced or finely grated
- 1 tablespoon fresh ginger, grated or minced
- 2 green onions (scallions), white and light green parts, sliced thin
- 1 tablespoon fish sauce (optional but recommended; adds umami)
- 1 tablespoon sugar (optional; helps fermentation kick off faster)
- 1 cup filtered or dechlorinated water for the brine
Equipment
You genuinely don’t need a specialty fermentation crock. A clean quart-sized glass jar, a small plate that fits inside the jar to weigh down the vegetables, and a clean kitchen towel work perfectly.
Step-by-Step Instructions
Step 1: Prep and Salt the Radish
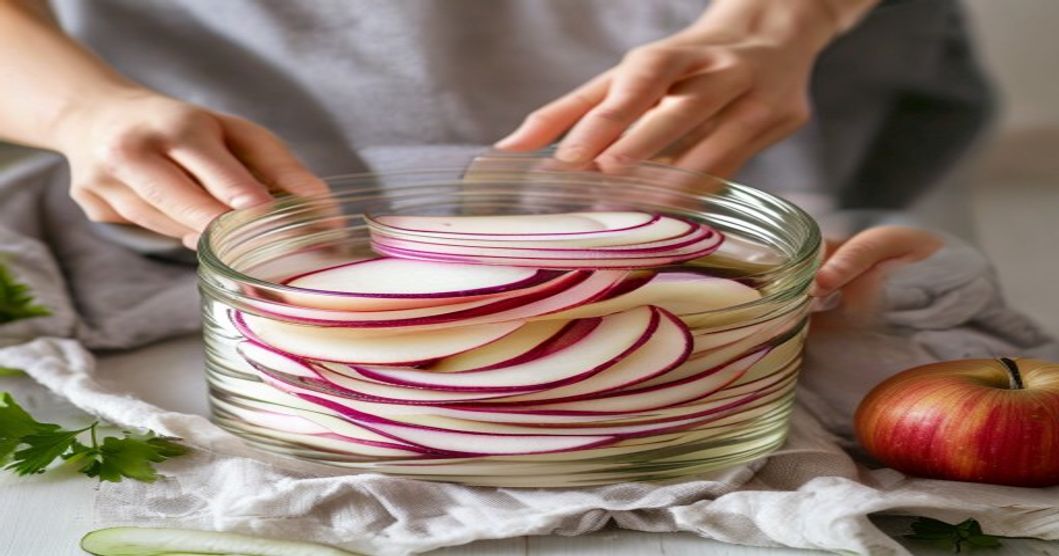
Peel your daikon radish and cut it into thin matchsticks—roughly the thickness of wooden skewers. Cut the apple the same size so everything ferments evenly. Put the radish in a large bowl and sprinkle with 2 tablespoons of sea salt. Toss well and let it sit for 10–15 minutes. This draws out excess water and begins the curing process.
After 10 minutes, squeeze the radish gently with your hands (don’t crush it, just squeeze out obvious liquid) and discard the liquid. This step prevents your kimchi from becoming too watery as it ferments.
Step 2: Make the Paste
In a small bowl, combine the gochugaru, minced garlic, grated ginger, fish sauce (if using), and 1 tablespoon sea salt. Stir in a few tablespoons of water to create a loose paste—thick enough to coat your finger but pourable. This is your base flavoring.
Taste it. Honestly. If it’s too spicy, add a tablespoon of water. If it’s bland, add a pinch more salt and garlic. You’re building seasoning intuition here, not following a rigid formula.
Step 3: Combine and Layer
Return the squeezed radish to the bowl. Add the julienned apple and green onion slices. Pour the chili paste over everything and fold together with your hands or a spoon until every piece is coated. This takes about a minute; don’t overthink it.
Step 4: Pack the Jar
Transfer the mixture into a clean glass jar, pressing it down firmly as you go. You want the vegetables snugly packed and any liquid they’ve released to rise above the level of the solid pieces. If the vegetables aren’t submerged by at least an inch, pour in a light brine (a mixture of 1 cup water mixed with 1 teaspoon salt) to cover.
Place a small glass or ceramic weight on top to keep everything below the brine line. (A small water-filled jar or even a clean cabbage leaf works.) Cover loosely with a cloth or a jar lid that you don’t seal tightly—gas needs to escape during fermentation.
Step 5: Ferment at Room Temperature
Set the jar somewhere out of direct sunlight—a pantry shelf or kitchen counter away from heat is ideal. Aim for a temperature between 68–72°F (20–22°C). In this range, fermentation happens steadily without spoiling.
After 24 hours, you’ll notice some bubbling and a pleasantly sour smell beginning. This is the beneficial bacteria (Lactobacillus) working. Taste a piece on day 3. It should have a light tang and still taste fresh. By day 5, it’s usually robust and tangy. Move it to the refrigerator once it reaches your preferred sourness level.
Troubleshooting: Common Issues and Fixes
Too Much Brine, Too Watery
If your jar has excess liquid and the vegetables are swimming, you either didn’t squeeze the radish enough at the start, or your apple released more juice than expected. This isn’t a disaster—it just means the kimchi will be less crisp. You can drain off some liquid or simply enjoy it as a looser condiment. Next time, squeeze harder in step 1.
White Fuzz on Top (Mold)
If you see white, fuzzy growth, it’s mold and the batch should be discarded. This usually means vegetables weren’t fully submerged. Prevention: always keep your vegetables below the brine line and press down daily during the first few days.
Tastes Too Mild After a Week
Fermentation has slowed because you moved it to the refrigerator too early, or your kitchen was too cold. Fermented foods develop depth over time. Leave it at room temperature for a few more days, or accept that milder kimchi is perfectly fine—not all kimchi needs to be an assault on the palate.
Smells Like Vinegar
That’s normal. As fermentation ages, lactic acid builds and the smell becomes vinegary. It’s still safe and delicious. If the smell bothers you, refrigerate it to slow the process.
How to Serve and Store
Radish and apple kimchi is best as a banchan (Korean side dish). Serve it cold, straight from the jar, alongside rice and stews. It pairs beautifully with rich dishes like pork belly or spicy soups because the sweetness and acidity cut through fat and heat.
Once fermented, keep it in the refrigerator where it will slowly continue to develop flavor. It keeps for 3–4 weeks, though most people eat it within 2 weeks. The longer it sits, the softer the radish becomes and the tangier it tastes.
- Always use clean utensils when removing kimchi from the jar to prevent contamination.
- Keep the jar sealed between servings so fermentation slows evenly.
- If you’re nervous about fermentation, you can eat it fresh (on day 1) before any fermentation happens—it’s crunchy and mildly salted, more of a quick pickle than a fermented side.
- Leftover brine (after you’ve eaten the vegetables) can be used to dress salads, dilute into soups, or start a new batch of kimchi.
Ingredient Notes and Where to Buy
Daikon radish is increasingly common in mainstream grocery stores, but if your local produce section doesn’t stock it, Asian markets always do. Look for firm radishes without soft spots or deep cracks.
Gochugaru (Korean red chili flakes) is the make-or-break ingredient. Regular paprika or cayenne won’t give you the same flavor—they’re hotter and less nuanced. Look for it at Korean markets or on Amazon. Buy a small bag and store it in the freezer to keep it fresh. As an Amazon Associate I earn from qualifying purchases.
Fish sauce (if you’re using it) smells pungent and funky in the bottle, but it dissolves into the brine and adds a savory depth. If you skip it, the kimchi will be slightly less umami-forward but still delicious. Vegetarian fish sauce alternatives exist if you prefer.
Sea salt matters more than you’d think. Iodized table salt can interfere with fermentation and leave a metallic taste. Kosher salt or sea salt work fine.
Variations to Try Once You’ve Nailed the Basics
Once you feel confident with the core recipe, experiment. Add a tablespoon of sesame seeds at the end. Swap half the radish for carrots or daikon greens. Some people add a splash of rice vinegar or mirin for extra sweetness. Use a pear instead of an apple for different subtle sweetness. Each change shifts the flavor profile in interesting ways.
If you’re curious about other radish-based fermented sides, check out our guide on how to make kimchi with daikon radish and kelp for beginners—it’s a slightly different approach using kombu seaweed that adds a savory mineral note.
Why Homemade Beats Store-Bought
Commercial kimchi is often loaded with preservatives and adjusted for a long shelf life, which means less active fermentation and duller flavor. Homemade kimchi is alive—literally teeming with beneficial bacteria that aid digestion. It tastes brighter, crisper, and costs a fraction of the price of jarred versions. Plus, you control the salt, spice level, and sweetness. You’re not at the mercy of what someone else thought you should taste.
Radish and apple kimchi is forgiving, fast, and genuinely tasty. Start with less chili than you think you need, taste on day 3, and move it to the refrigerator once the tang hits your preference. The apple ferments into sweetness that balances heat naturally—no need to add sugar. You’ll have a jar of lively, probiotic-rich side dish in under a week.