How to Make Kimchi with Green Onion and Garlic for Beginners Without Fish Sauce
Disclosure: This post may contain affiliate links. We may earn a commission on qualifying purchases at no extra cost to you.
Green onion kimchi—called pa kimchi or daepa kimchi in Korean—is hands-down easier than cabbage kimchi and ready to eat in under a week, no fish sauce required. You coat bundles of green onions in a garlicky, gingery paste, ferment them for a couple of days, and boom: you’ve got tangy, aromatic banchan (side dish) that costs a fraction of store-bought and tastes way more alive.
Make fermented green onion kimchi in 3–5 days using just garlic, ginger, gochugaru (Korean red chili flakes), soy sauce, and salt. No fish sauce, no complicated equipment—just a jar and patience.
Why Green Onion Kimchi Is Perfect for Beginners
Cabbage kimchi intimidates people. It’s large, requires serious massaging, takes space in your fridge, and if you mess up the salt ratio, you’ve got a big soggy failure. Green onions? Forgiving. They’re smaller, they ferment faster, and even if you get the seasoning slightly off, they’re still good—just different. Plus, they’re cheap and usually fresher than the cabbage that’s been sitting in the produce aisle for two weeks.
The flavor is brighter, too. Green onions bring a peppery sweetness that works beautifully with ginger and garlic. You taste each layer—the burn of chili, the sharpness of raw garlic that mellows as it ferments, the warm hum of ginger. It pairs with everything from scrambled eggs to grilled fish to leftover rice.
What You’ll Need (Ingredients & Gear)
Ingredients
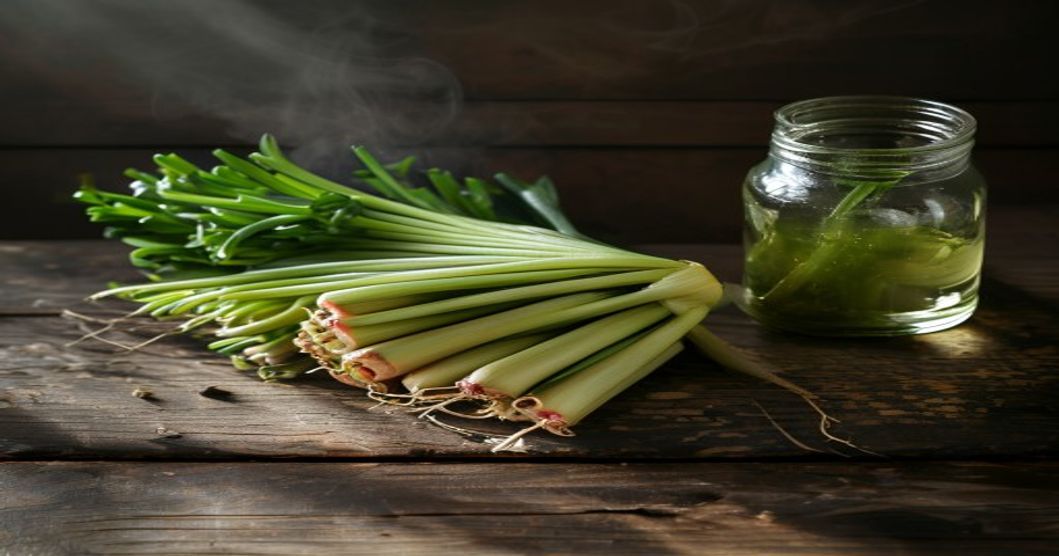
- 2 lbs fresh green onions (scallions) — Look for bunches with firm white roots and perky green tops. Avoid any that are yellowing or slimy.
- 4 tablespoons gochugaru (Korean red chili flakes; coarse powder, not hot sauce) — This is non-negotiable. You’ll find it at any Asian market or on Amazon. Don’t substitute with cayenne or sriracha; the texture and flavor are totally different.
- 6 cloves garlic, minced — Fresh, not pre-minced. The difference is real.
- 1 tablespoon fresh ginger, minced — Or about a 1-inch piece. Ginger is your secret weapon for depth and warmth.
- 3 tablespoons soy sauce — Regular soy sauce, not tamari or low-sodium. You need the salt and umami.
- 1 tablespoon sugar — Brown or white; it feeds the fermentation and balances heat.
- 1 tablespoon salt — For the paste. This is on top of any salt already in the soy sauce.
- 2 tablespoons toasted sesame oil — Optional but highly recommended. Adds a warm, nutty finish that makes people say, “What is that flavor?”
- 1 tablespoon rice vinegar or apple cider vinegar — Optional; adds a bright edge and speeds up acidity if you’re in a hurry.
- Water — A splash to adjust paste consistency if needed.
Equipment
- One large, clean glass jar (at least 1 quart) or two smaller jars.
- A cutting board and knife.
- A small mixing bowl for the paste.
- A spoon or your hands (clean) to coat the onions.
- Paper towels or a clean kitchen towel.
Pro tip: Glass jars work better than plastic because they don’t absorb odors and you can see fermentation progress without opening the lid.
Step-by-Step: Making Green Onion Kimchi Without Fish Sauce
Step 1: Prep and Clean the Green Onions
Rinse your green onions thoroughly under cold running water and rub them gently to remove any soil trapped between the layers. Shake off excess water and lay them on a clean towel to dry for 10–15 minutes. Don’t skip this—wet vegetables dilute your paste and can encourage unwanted mold.
Once dry, trim the roots (about ½ inch) and any yellowed or wilted tips. Bunch them together in groups of 3–4, so you can coat them evenly. Keep the bundles as intact as possible; you’ll layer them in the jar in neat stacks.
Step 2: Make the Paste
In your mixing bowl, combine the gochugaru, minced garlic, minced ginger, soy sauce, sugar, salt, sesame oil, and vinegar (if using). Stir until you have a thick, textured paste. It should be spreadable but not runny—if it’s too dry, add a tablespoon of water at a time.
Taste a tiny bit on your finger. It should be salty, spicy, and punch you in the face with garlic. That’s the point. The fermentation will mellow it slightly, but you want to start bold.
Flavor note: No fish sauce means you’re relying on salt, soy sauce, and fermentation to build umami. Don’t be shy with the garlic and ginger. An extra clove of garlic won’t hurt; it’ll just get rounder and mellower as the kimchi sits.
Step 3: Coat the Green Onions
Take a bundle of green onions and, working from the root end, massage the paste between the layers. Use your fingers or a spoon. Get paste into every crevice—the white parts especially need good coverage. Don’t be timid; green onions are tougher than they look and won’t fall apart if you handle them firmly.
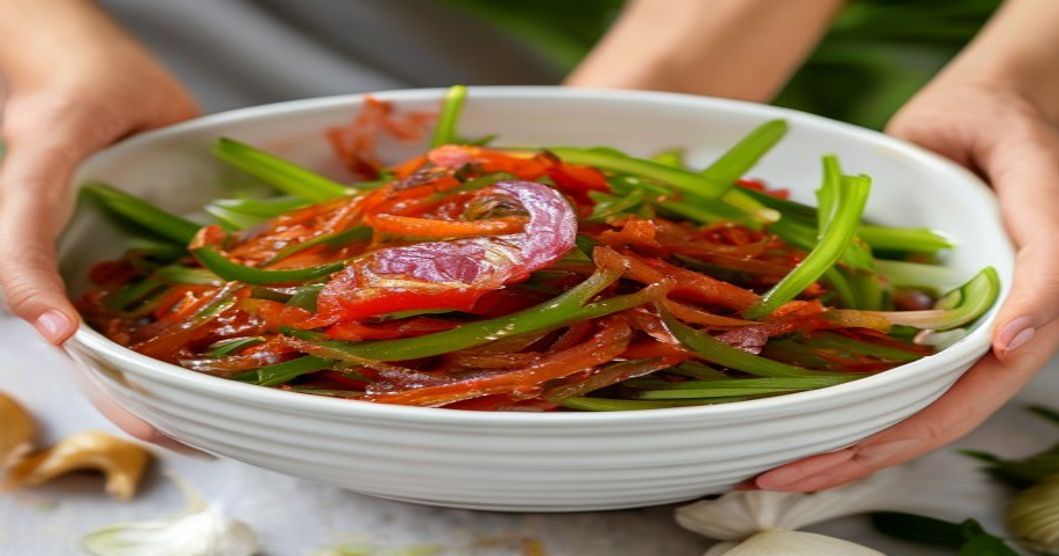
Lay the coated bundle flat on your work surface, then take the next bundle and repeat. Once you’ve coated them all, they should be vibrant red and fragrant enough to make your eyes water a little. That’s the spice doing its job.
Step 4: Pack the Jar
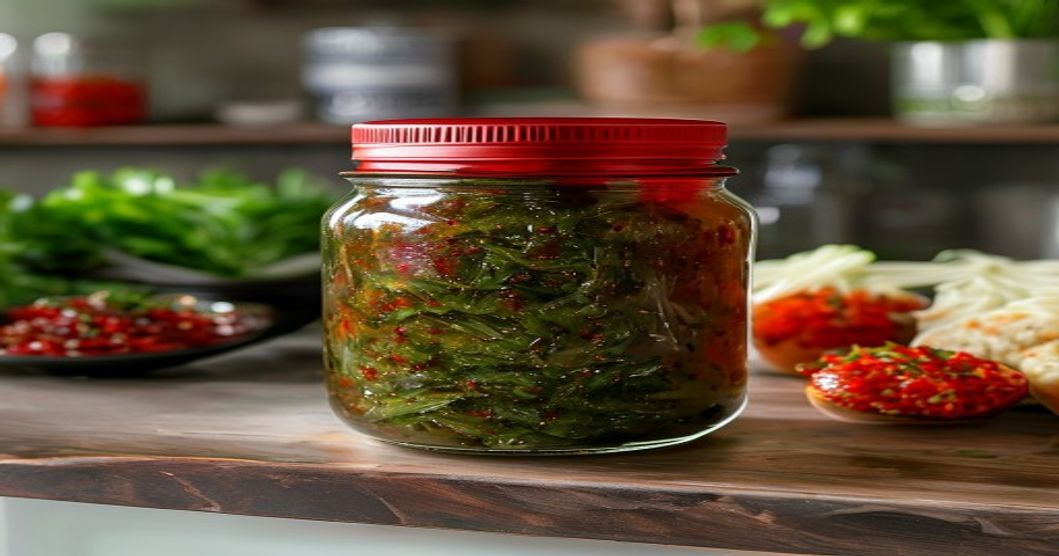
Layer the coated bundles upright in your glass jar, packing them fairly snugly so they stay submerged under their own juice and any brine that forms. Pour any remaining paste from your bowl over the top. If there’s excess liquid, that’s fine—it’s part of the fermentation. If the onions are poking above the paste, cover them with a sheet of parchment paper or plastic wrap to keep them from browning at the air line.
Seal the jar with its lid (loose, not airtight—fermentation produces gas and you don’t want an explosion). You can also cover it with cheesecloth or a clean cloth and rubber band if you want to check on it more easily.
Step 5: Ferment at Room Temperature
Leave the jar on your counter, away from direct sunlight, at room temperature (ideally 65–75°F). Within 24 hours, you’ll see bubbles. That’s good. Every day, open the lid and press the onions down with a spoon so they stay under the liquid.
By day 3, it should taste tangy and funky. By day 5, it’s noticeably sour. Taste it daily starting around day 2 until you like it. Once it’s where you want it, move it to the fridge. Cold fermentation slows everything way down and it’ll keep for at least 2–3 weeks (often longer).
Timing Breakdown: How Fermentation Progresses
Here’s what to expect day by day so you’re not guessing:
- Day 1: Paste is fresh, no tang yet. Bubbles forming at the bottom. Tastes mostly raw garlic and chili.
- Day 2–3: Visible fermentation, bubbles rising. Tanginess starting to show. This is the sweet spot for people who like mild kimchi.
- Day 4–5: Strong sour smell. Deep tangy flavor. Garlic mellows. Ginger rounds out. Move to fridge now if you like it.
- Day 5+: Very sour, funky (in a good way). Some people love this; others think it’s too intense. It’s your preference.
Common Mistakes (and How to Avoid Them)
Not Enough Salt
Kimchi needs salt to draw out juice and preserve safely. Too little and it tastes flat, plus it can mold. Aim for about 2% of the vegetable weight, which feels like a lot but isn’t.
Wet Vegetables
I mentioned this already, but it’s important. Excess water dilutes your paste and dilutes flavor. Dry them completely before coating.
Skipping the Daily Press
If vegetables float above the paste, they can brown and develop off-flavors. Spend 10 seconds a day pressing them down. It matters.
Ferrying Too Warm (Above 75°F)
Fast fermentation can taste boozy or vinegary. If your kitchen is hot, ferment in a cool closet or basement, or just move it to the fridge sooner. Slower fermentation = better flavor development.
Where to Buy Ingredients on a Budget
The only ingredient that might be tricky is gochugaru. Most Asian grocery stores carry it in bulk bins, which is cheapest. If you don’t have a local market, gochugaru is widely available through Amazon, where you can find reputable brands in 1–2 lb quantities. Green onions, garlic, and ginger are standard at any supermarket produce section.
For other fresh kimchi variations, many of the same ingredients work—just swap the vegetable. And if you’re curious about sweeter kimchi fermentation methods using radish and apple, or longer ferments like daikon and kelp kimchi, check those guides for deeper dives.
How to Use Green Onion Kimchi
Once it’s ready, use it just like any Korean banchan: serve it alongside rice and main dishes, chop it up and mix into fried rice, top a bowl of ddukbokki (spicy rice cakes) or ramen, spoon it onto grilled meat, or even toss it into scrambled eggs. A little goes a long way. The juices are liquid gold—drizzle them over rice or soup.
For Who This Works Best (And Who It Doesn’t)
This Is Perfect For:
- Complete beginners who want fermentation without complexity.
- Anyone avoiding fish sauce for dietary or ethical reasons.
- People who like garlic and ginger forward flavors.
- Cooks making a small batch for a household of 2–4 people.
- Home fermenters in a hurry (ready in days, not weeks).
This Is NOT For:
- People who insist on traditional fish sauce umami (you can add a tablespoon of dried shiitake powder instead for a closer approximation, but it’s not identical).
- Anyone looking for a crunchy, long-storing side dish—green onions soften and are best eaten within 3 weeks.
- Kitchens without counter space to spare (this needs a jar sitting out for days).
- People allergic to garlic or ginger; this recipe leans heavily into both.
Green onion kimchi is the fastest, easiest entry point to fermentation—no fish sauce, no expensive equipment, and ready to eat in under a week. Get your gochugaru right, don’t skimp on garlic, and you’ll have tangy, funky, aromatic kimchi that tastes like you’ve been fermenting for years. Make it once and you’ll make it again.
Disclosure: This article contains affiliate links. As an Amazon Associate I earn from qualifying purchases. I recommend products and ingredients based on usefulness and value, and may earn a commission if you buy through the links provided at no extra cost to you.