How to Make Kimchi with Daikon Radish and Kelp for Beginners in 10 Days
Disclosure: This post may contain affiliate links. We may earn a commission on qualifying purchases at no extra cost to you.
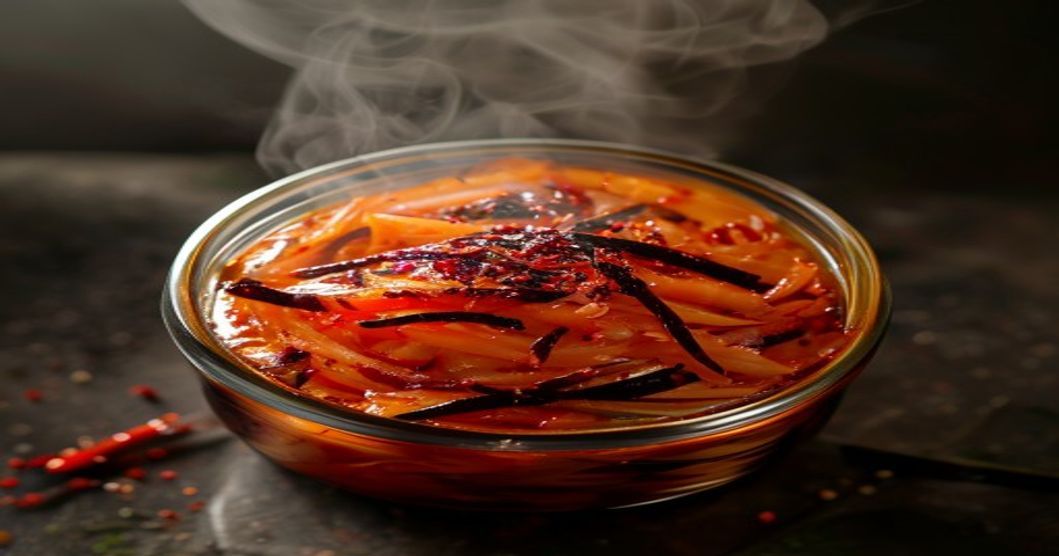
Daikon radish kimchi (kkakdugi or cubed daikon kimchi) ferments in 10 days and stays crispy, which makes it the ideal first ferment for anyone nervous about turning a jar into mush. The secret? Cubing it instead of shredding, using kelp broth for backbone umami, and keeping your kitchen cool enough that you’re not racing against wild yeast.
Daikon radish kimchi is ready in 10 days, stays crunchy, and the kelp broth gives it a savory depth that hides beginner mistakes. You need five ingredients, a clean jar, and patience—not special equipment.
Why Daikon Radish for Your First Kimchi
Daikon radish ferments faster and more forgivingly than napa cabbage. It’s sweeter, holds its crunch even after two months in the fridge, and its delicate flavor won’t overpower you while you’re learning the rhythm of salt-brine ratios and temperature. Plus, it looks stunning in a jar—those ivory cubes turn translucent amber as they ferment, almost jewel-like.
The kelp (kombu or dasima, a dried sea vegetable) isn’t just flavor theater. It adds natural glutamates (the umami that makes food taste savory and complete) without you having to dial in exact proportions of fish sauce or shrimp paste. That buffer is huge when you’re nervous about oversalting or underseasoning.
What You’ll Need: The Honest Ingredient List
For the daikon base:
- 2 pounds daikon radish (about 1 large or 2 medium roots; choose firm, creamy-white ones without soft spots)
- 3 tablespoons kosher salt (not iodized; iodine kills fermentation bacteria)
For the seasoning paste:
- 2 tablespoons gochugaru (Korean red chili flakes—buy from an Asian market or Amazon; the fresher it is, the better. Old gochugaru tastes like dusty paprika)
- 1 piece dried kelp (about 2 x 3 inches; rinsed but not soaked)
- 4 cloves garlic, minced fine
- 1 tablespoon fresh ginger, minced fine
- 1 tablespoon fish sauce (or saeujeot—tiny salted shrimp—if you want even more umami; skip if vegetarian and use soy sauce instead)
- 1 tablespoon sugar (optional; balances heat and helps fermentation bacteria)
Equipment:
- 1 clean glass jar (1-quart or 32-ounce minimum) or any food-grade container
- 1 sharp knife and cutting board
- 1 small bowl for the paste
- Plastic lid or cheesecloth and rubber band (metal lids rust when fermentation acid hits them)
Step-by-Step: The 10-Day Method
Day 1: Prep and Salt
- Wash and peel the daikon. Scrub under cold water, then peel with a vegetable peeler or knife. Cut off the top and bottom.
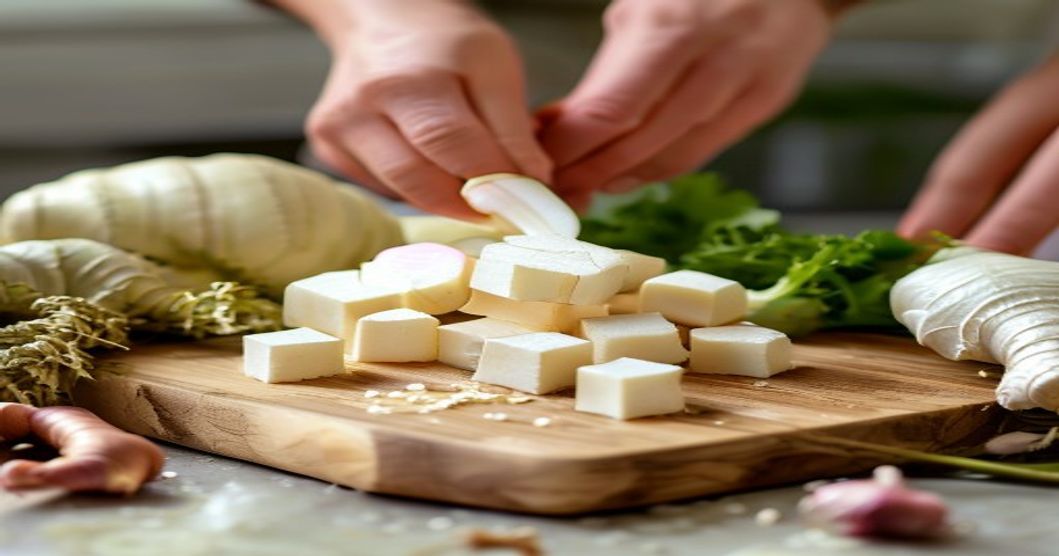
- Cube it evenly. Cut the peeled daikon into roughly ½-inch cubes (slightly larger than a dice—you want them to stay firm). Consistency matters; tiny pieces ferment faster and get mushy.
- Salt the cubes. Toss daikon cubes with 3 tablespoons kosher salt in a clean bowl. Gently massage for 1–2 minutes—you want them slightly wilted, not bruised. Let sit for 30 minutes. This draws out moisture and begins the brining.
- Drain well. After 30 minutes, pour the daikon into a colander and rinse under cold water. Squeeze gently with clean hands to remove excess brine (don’t crush them). Let drain completely—excess water dilutes your fermentation.
Days 1–2: Make the Paste and Layer
- Bloom the kelp. Briefly rinse your dried kelp piece under cool water (don’t soak; it’ll turn to mush). Chop into ½-inch strips or bite-sized pieces.
- Make the paste. In a small bowl, combine minced garlic, minced ginger, gochugaru, fish sauce, sugar (if using), and the chopped kelp. Stir until you have a wet, spicy red paste. Taste a tiny pinch—it should be garlicky, hot, and salty. If it’s too salty, you added salt to the paste; don’t do that next time. If it’s too mild, add a pinch more gochugaru.
- Combine. Add the drained daikon cubes to the paste. Using clean hands or a spoon, fold everything together until every cube is coated. Work gently—bruised daikon will ferment faster and turn soft.
- Pack the jar. Transfer the daikon and all its paste and juices into your clean glass jar. Press down lightly so the daikon is covered by its own brine (if it’s sitting above the liquid, it oxidizes and molds). Leave about 1.5 inches of headspace at the top—fermentation creates gas and liquid can bubble over.
Days 3–10: Fermentation and Temperature Control
- Find a cool spot. Daikon radish kimchi ferments best at 60–70°F (15–21°C). A pantry, basement, or cool corner of a kitchen (not above the stove or near a window) works. If your home is warmer, fermentation will speed up and be ready in 7 days; colder, and it may take 12–14 days. Avoid the fridge—fermentation is too slow there.
- Leave the lid loose or use cheesecloth. Fermentation produces CO2; if the jar is sealed tight, pressure builds and the lid can pop off (or worse, crack). Use a plastic lid placed loosely on top, or cover with cheesecloth secured with a rubber band. This lets gas escape while keeping dust and bugs out.
- Taste on day 5. Open the jar, take out a cube with a clean fork, and chew. It should taste salty, garlicky, and slightly crunchy with no fermented funk yet. If it’s already sour and tangy, your kitchen is warm. Move the jar to a cooler spot or just let it sit; some sour is fine.
- Taste again on day 7 or 8. By now, it should taste noticeably sour, garlicky, and peppery. The cubes should be slightly translucent. If it tastes bland or still very salty, give it 2–3 more days. If it’s mouth-puckeringly sour, move it to the fridge to slow fermentation.
- Final taste on day 10. The kimchi should be tangy but not aggressively sour, with a pleasant crunch and balanced garlic-chili-salt flavor. If you like it, seal with a plastic lid and refrigerate. If it’s not quite there, leave it at room temperature for 2–3 more days, then decide.
Common Beginner Mistakes (and How to Avoid Them)
Too salty: You added salt to the paste itself. Don’t. The only salt should be in the initial daikon cure (3 tablespoons for 2 pounds) and a tiny pinch in the paste if you’re worried. Trust the salt you already added.
Too soft after 7 days: Your kitchen is warm, or you cut the daikon too small. Daikon radish cubes should be ½-inch or slightly larger. If fermentation is racing, move the jar to a cooler spot or refrigerate immediately to halt it.
Mold on top: The daikon was sitting above the brine. Before opening, if you see fuzzy growth, it’s almost always mold (white or gray), not safe yeast. Scoop it out, ensure the rest is submerged, and taste carefully. If the kimchi below smells good, it’s salvageable. If it smells off, throw it out and try again. (Mold is usually preventable if everything stays underwater.)
Tastes bland after 10 days: Your house is cold, or you used too much salt and killed fermentation. Move the jar somewhere warmer (68–72°F / 20–22°C is ideal), give it another week, and taste again. Or accept a milder fermentation and refrigerate—it’ll keep improving slowly even in the cold.
Serving and Storage Tips
Once it reaches your preferred sourness, refrigerate it. The cold slows fermentation almost completely. Daikon radish kimchi keeps for 2–3 months, though the flavor does intensify—by month 3, it’s sour and strong, which some people love and others find too aggressive.
Serve it as a banchan (side dish) alongside rice, grilled meats, or soups. A small spoonful is traditional—it’s a condiment, not a main, and its acidity and crunch refresh your palate between bites of richer food. It also pairs brilliantly with creamy foods like egg or mayonnaise-based dishes, cutting through richness.
If you want to learn more advanced kimchi techniques, check out our guide on how to make kimchi with napa cabbage and anchovy broth for beginners, or explore fermenting kimchi faster at room temperature without commercial starters. And if household members are spice-sensitive, our piece on making kimchi less spicy with gochugaru alternatives offers clever swaps.
Ingredient Sourcing (Where to Buy)
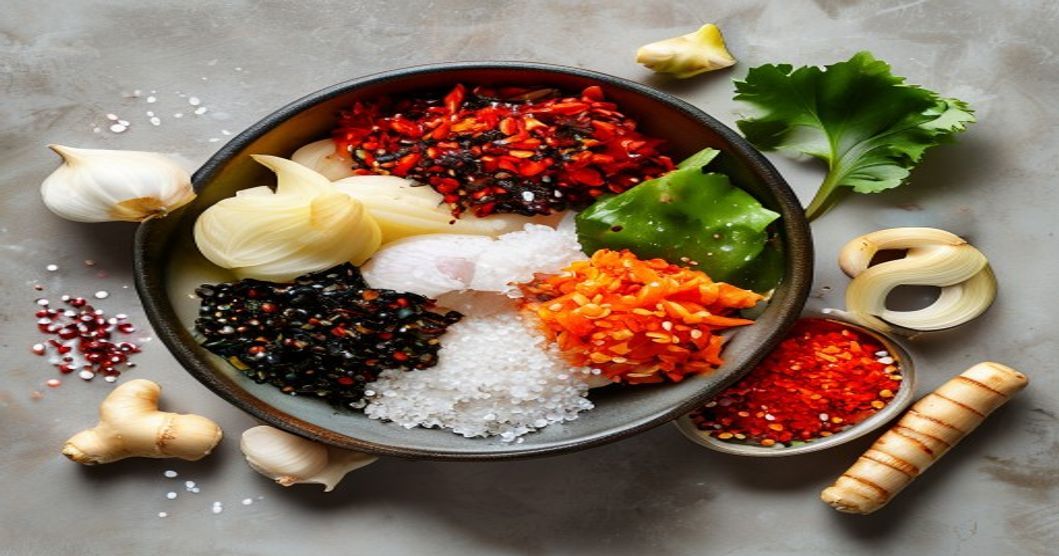
Most daikon is available year-round at any grocery store—look for firm, unblemished ones. Gochugaru (Korean red chili flakes) is the hardest to find locally; Amazon and specialty Asian grocery stores carry it. Buy fresh, with a bright red color; stale gochugaru tastes dusty and flat.
Dried kelp (kombu or dasima) is sold in Asian markets and online. A small package lasts months since you only use a small piece per batch. Fish sauce is optional but adds depth; if you can’t find it, soy sauce or additional salt work, though the flavor profile shifts slightly toward lighter and less umami-rich.
Daikon radish kimchi is forgiving, fast, and tastes impressive for a first ferment. The kelp adds savory depth that masks minor seasoning mistakes, and the cubes stay crunchy for months. Pick a cool corner of your kitchen, follow the 10-day timeline, and taste along the way—fermentation is as much about your preference as chemistry. Start here, nail this one, and the napa cabbage kimchi will feel like second nature.
Disclosure
This article contains affiliate links to Amazon and other retailers for Korean ingredients and cookware. We may earn a commission on purchases made through these links at no extra cost to you. As an Amazon Associate I earn from qualifying purchases.