How to Make Kimchi in a Mason Jar Without Refrigeration for Camping and Road Travel
Disclosure: This post may contain affiliate links. We may earn a commission on qualifying purchases at no extra cost to you.
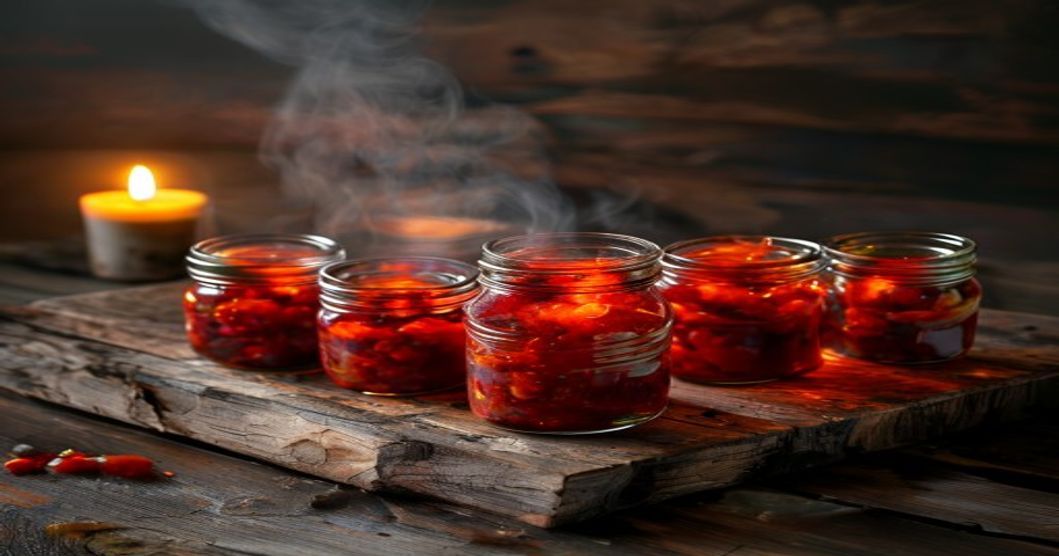
There’s something deeply satisfying about eating kimchi straight from a mason jar at a campsite as the sun sets. You get the sharp, funky intensity, the heat from the gochugaru (Korean red chili flakes), and the confidence that you’ve packed something actually alive—something still fermenting—into your camping bag. Most people think fermented food requires a fridge, or a cool root cellar, or serious equipment. Wrong. Kimchi doesn’t need refrigeration to ferment. In fact, room temperature is where it thrives, which makes it an almost absurdly good choice for road trips, camping, hiking, and any situation where you want a bold, spicy, probiotic-rich side dish that doesn’t rely on a power outlet.
Kimchi ferments beautifully in a sealed mason jar at room temperature. Pack napa cabbage, salt, gochugaru, garlic, ginger, and fish sauce or shrimp paste from home, prepare it in the jar on day one, and eat it starting day two. It improves for 3-5 days and stays safe for 2-3 weeks without a fridge. Perfect for camping, road trips, and anywhere you want fermented depth without equipment.
Why Mason Jar Kimchi Works for Road Travel
Fermentation is anaerobic when it works best—meaning it doesn’t need oxygen, it doesn’t need cold, and it definitely doesn’t need electricity. The salt you add to the cabbage draws out water, creating a brine. The lactic acid bacteria on the vegetable surfaces (and in the seasonings like fish sauce or shrimp paste) start munching on sugars, producing lactic acid and carbon dioxide as byproducts. That CO2 builds up inside a sealed jar and creates its own protective, anaerobic environment. Cold slows this process down. Room temperature speeds it up. That’s why kimchi ferments faster and more aggressively at 70°F than at 40°F in a fridge.
A mason jar is essentially a mini fermentation vessel. It’s airtight. It’s portable. You can pack it in a car, throw it in a camping backpack, toss it in a cooler. The glass is inert—it won’t leach flavors or absorb them. And because you’re going to eat the kimchi relatively quickly (a camping trip of one or two weeks), you don’t need to worry about fermentation stalling out from exposure to light or the vessel degrading.
The other reason this works: kimchi is already intensely salted and spiced. The high salt content (around 2-3% of the weight of the cabbage) is a natural preservative. Bad bacteria hate salt. Good fermentation bacteria tolerate it and thrive. So even if your jar sits in a warm tent or a hot car for a few days, the conditions that favor spoilage are much less likely.
What You Need: Ingredients and Prep
The beauty of traveling kimchi is that you can prep most of this at home, pack it dry or in a jar, and assemble it on the road. Here’s what goes into a single quart-sized mason jar of rough, chunky kimchi:
- 1 small head of napa cabbage (about 2 lbs), chopped into bite-sized pieces
- 2-3 tablespoons of gochugaru (Korean red chili flakes)
- 1 tablespoon of fish sauce or shrimp paste (anchovy paste works in a pinch)
- 3-4 cloves of garlic, minced
- 1 tablespoon of fresh ginger, minced (or 1 teaspoon of powdered ginger if fresh is inconvenient)
- 1 teaspoon of sea salt or kosher salt
- Optional: 1 teaspoon of sesame seeds, a pinch of sugar to balance the heat
The gochugaru is the signature ingredient—it’s not just heat, it’s a mild fruity undertone that defines kimchi flavor. You can buy it from any Korean grocery store, from Amazon, or from most international sections of well-stocked supermarkets now. Fish sauce or shrimp paste is the umami anchor. It adds a funky depth that says “this is alive.” Don’t skip it or substitute it with soy sauce; the funk is the point.
Step-by-Step: Making Kimchi in a Mason Jar
You have two options: make it at home and pack it, or assemble it on the road. Both work. Here’s the full process.
Option 1: Prepare at Home, Pack in a Jar
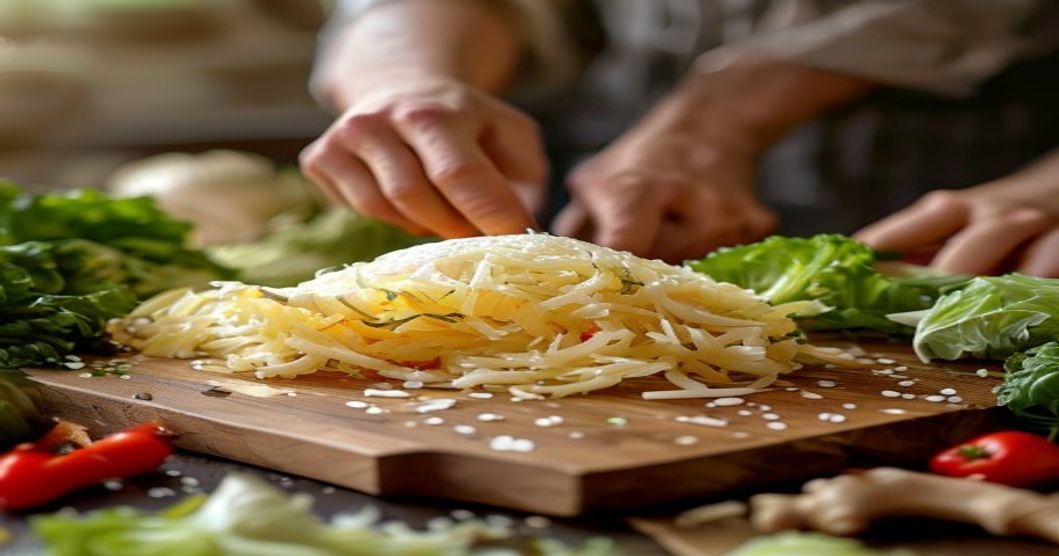
- Chop the cabbage. Slice the napa cabbage into rough chunks—not paper-thin, but not huge wedges either. Bite-sized pieces (about 2 inches) are ideal. You want it to break down enough to pack tight in the jar but sturdy enough not to turn into mush before you eat it.
- Salt the cabbage. Place the chopped cabbage in a large bowl and sprinkle 1 tablespoon of salt over it. Toss gently and let it sit for 5-10 minutes. This draws out some of the cabbage’s water and begins the brining process. You’ll see liquid pooling at the bottom of the bowl.
- Make the paste. In a small bowl, combine the gochugaru, fish sauce, minced garlic, minced ginger, and sesame seeds (if using). Mix it into a thick, spicy paste. This is your flavor concentrate.
- Combine and pack. Dump the lightly salted cabbage (with its liquid) into a clean quart-sized mason jar. Add the paste and stir everything together with a clean spoon. Press down gently so the cabbage is submerged in its own brine. You want the vegetables covered by liquid; if it’s too dry, add 2-3 tablespoons of water.
- Seal and ferment at home for 12-24 hours. Screw the lid on tight. Leave the jar on a counter or shelf at room temperature overnight. You’ll start to see tiny bubbles rising—that’s fermentation beginning. After 12-24 hours, open it and taste. It should be slightly tangy and spicy.
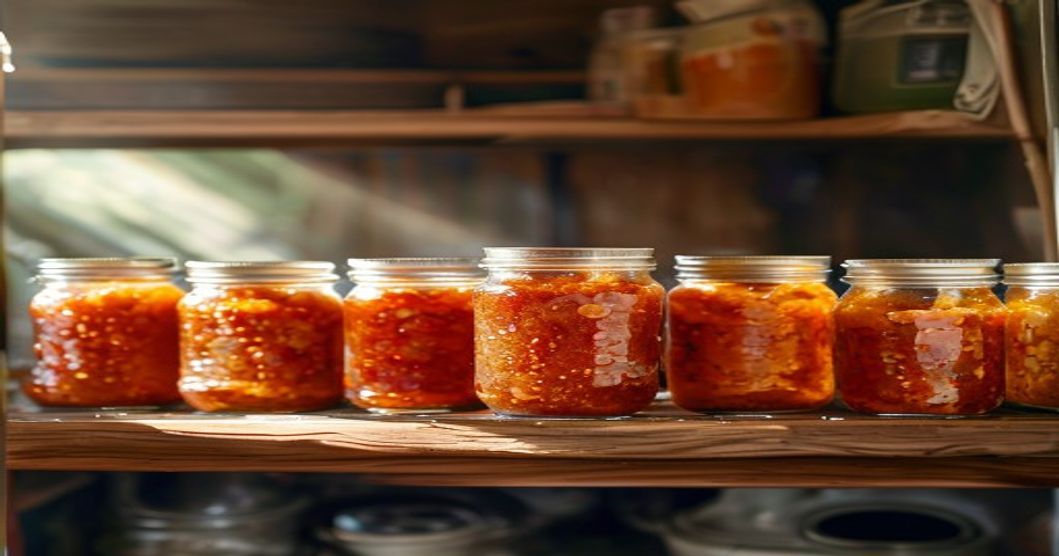
- Pack for travel. At this point, the kimchi is safe and delicious. Screw the lid back on (tight), wrap it in a plastic bag or cloth to prevent leaks, and pack it in your bag or cooler. It will continue to ferment slowly in transit.
Option 2: Assemble on the Road
If you want to travel light, prep your ingredients at home in separate containers (one with chopped cabbage, one with the paste mixture, one with salt) and assemble the jar on day one of your trip. This saves weight and space in your pack, and you get the satisfaction of making it fresh at the campsite. Follow steps 2-5 above, but do it at your destination using a clean jar you bring along.
Temperature, Time, and the Fermentation Sweet Spot
Room temperature is broadly 65-75°F in a climate-controlled space. On a camping trip, your jar might sit in a tent that gets to 85°F during the day and cools to 60°F at night. That’s fine. Slight temperature fluctuations don’t hurt; they’re actually normal in most of human history, and kimchi has been made this way for centuries without thermometers.
Here’s what to expect:
- Day 1: Minimal taste, mostly salty and spicy.
- Day 2-3: Tangy flavor emerges; noticeably fermented.
- Day 5: Deep funk, intense sourness, cabbage softens slightly.
- Day 7+: Very sour, mushy if you don’t like that; still safe.
- Warmer = faster fermentation (3-5 days peak).
- Cooler nights = slower fermentation (mellower taste longer).
- Sealed jar = safe even in hot car (CO2 protects).
- After 3 weeks unrefrigerated, risk increases.
For a weekend camping trip, ferment it for 2-3 days at camp. For a week-long road trip, start it on day one and hit your eating window around day 3-5 when the flavor is aggressive and alive but not yet mushy. If your camping weather is cool (50-60°F), fermentation will be slower; give it an extra day or two before eating.
How to Eat It: Practical Ways to Use Fermented Kimchi While Traveling
This is the real payoff. You’ve got a jar of alive, spicy, pungent kimchi. Now what?
Straight from the jar. The easiest move. Open it, grab a fork or chopsticks, eat a handful. It’s salty, spicy, and oddly refreshing as a snack, especially if you’ve been hiking or driving.
With rice. If you’re camping with a camp stove and a pot, cook rice or ramen. Plop a spoonful of kimchi and its brine on top. It transforms a bland, quick meal into something with real flavor and character.
In a wrap or sandwich. Pack some tortillas or bread. Kimchi on a cheese and deli meat sandwich is legitimately great. The fermented funk cuts through richness.
With eggs. If you’re at a camp kitchen or cabin, scramble eggs with chopped kimchi and sesame oil. That’s breakfast with personality.
Mixed into instant soup. Cup noodles or instant miso soup get a massive flavor upgrade with a spoonful of kimchi stirred in just before eating.
The point: fermented kimchi is a condiment first. It’s not the whole meal; it’s the thing that makes the rest of your travel food taste alive.
Common Mistakes and How to Avoid Them
Not enough salt. This is the biggest risk. If your kimchi isn’t salty enough, bad bacteria can take hold before the good fermentation bacteria can. Aim for 2-3% salt by weight (so about 1 tablespoon per 2 pounds of cabbage). Taste the brine when you first assemble it; it should taste noticeably salty—not pleasant on its own, but right for kimchi.
Cabbage sticking above the liquid. Vegetables that poke out of the brine can mold. Press down gently when you pack the jar, and make sure the liquid covers everything. If you’re short on liquid, add a bit of water.
Too little gochugaru or fish sauce. These aren’t just flavor—they’re also fermentation aids. Gochugaru carries bacteria, and fish sauce adds umami and helps the fermentation process. Don’t skimp thinking you’ll scale down for a smaller batch. Use the ratios above; they’re forgiving.
Opening the jar too many times. Every time you open it, you’re letting out the protective CO2 and letting in oxygen and potential contaminants. Open it once to check on day 2-3 to taste, and then leave it sealed. Curiosity can ruin good fermentation.
Fermentation in a jar with a loose or damaged lid. You need an airtight seal. If the lid is loose or cracked, oxygen gets in and mold can follow. Before you pack, test the seal by turning the jar upside down over a sink. If liquid or gas leaks, the jar isn’t tight enough.
Where to Source Ingredients, Even While Traveling
Most of your ingredients come from home prep. But if you’re making this on the road and need to resupply:
Gochugaru. Check any Korean grocery store in or near your destination. If you’re in a rural area, you can order it online through Amazon and have it delivered to a hotel or post office. A sealed bag of gochugaru lasts indefinitely, so buying extra for future trips is smart.
Fresh napa cabbage. Any grocery store, farmer’s market, or Asian market. It’s increasingly common and keeps for 1-2 weeks in a cold environment, so grab a head when you arrive and use it immediately.
Fish sauce or shrimp paste. Asian markets almost always carry this. It’s shelf-stable, so you can buy it at home and pack it. If you forget, a jar of anchovies in a pinch provides similar umami, or you can use a bit of soy sauce and accept that your kimchi will taste slightly different (less funky, more salty).
Garlic and ginger. Any grocery store. Fresh is better, but if you’re desperate, powdered versions work—use half the amount (1-2 teaspoons powdered garlic, 0.5 teaspoon powdered ginger).
The advantage of prepping at home: you buy real gochugaru, quality fish sauce, and fresh garlic and ginger once, pack them in small containers, and you’re done. No hunting for ingredients at trailheads.
Who This Works For (and Who Might Want to Skip It)
This is for you if: You like fermented, sour, spicy flavors. You want a side dish that’s shelf-stable without electricity. You’re packing for a trip of 3-7 days. You enjoy the idea of eating something alive and active. You want a probiotic boost without complicated supplements. You have even basic cooking gear and clean water access.
This is NOT for you if: You dislike spicy food or very sour, funky flavors. You’re on a trip shorter than a weekend (not enough time for good fermentation). You need shelf-stable food for more than 3 weeks without refrigeration (switch to store-bought, vacuum-sealed kimchi). You have a sensitive stomach and aren’t familiar with fermented foods (introduce kimchi at home first to make sure it sits well). You’re in a place where you can’t open jars or do basic prep (truly ultralight backpacking, tight schedule).
Mason jar kimchi is one of the most underrated travel foods. It ferments without refrigeration, tastes better every day, and costs almost nothing to make. Prep napa cabbage, gochugaru, fish sauce, garlic, and ginger at home, pack them in a clean quart jar, let it ferment for 2-5 days at room temperature, and eat it straight or mixed into any meal. Safe, delicious, and genuinely alive—everything a travel condiment should be.
Disclosure: This article contains affiliate links. If you purchase gochugaru, mason jars, or other Korean ingredients through Amazon or other retailers using links on this page, we may earn a small commission at no extra cost to you. As an Amazon Associate I earn from qualifying purchases. This helps support our site so we can keep creating guides like this. Thanks for your support.