How to Make Kimchi with Leek and Carrot: A Mild, Easy Fermented Side Dish
Disclosure: This post may contain affiliate links. We may earn a commission on qualifying purchases at no extra cost to you.
You’re standing in your kitchen on a quiet weekend, and all you want is a homemade fermented side dish that doesn’t set your mouth on fire. Maybe you’ve seen kimchi (Korean fermented vegetables) everywhere, but every recipe seems to demand gochugaru (Korean red chili flakes) by the handful. Here’s the thing: authentic kimchi doesn’t need heat to be delicious—and leek with carrot is one of the best-kept secrets for a mild, crunchy, savory version that Koreans have been making for centuries.
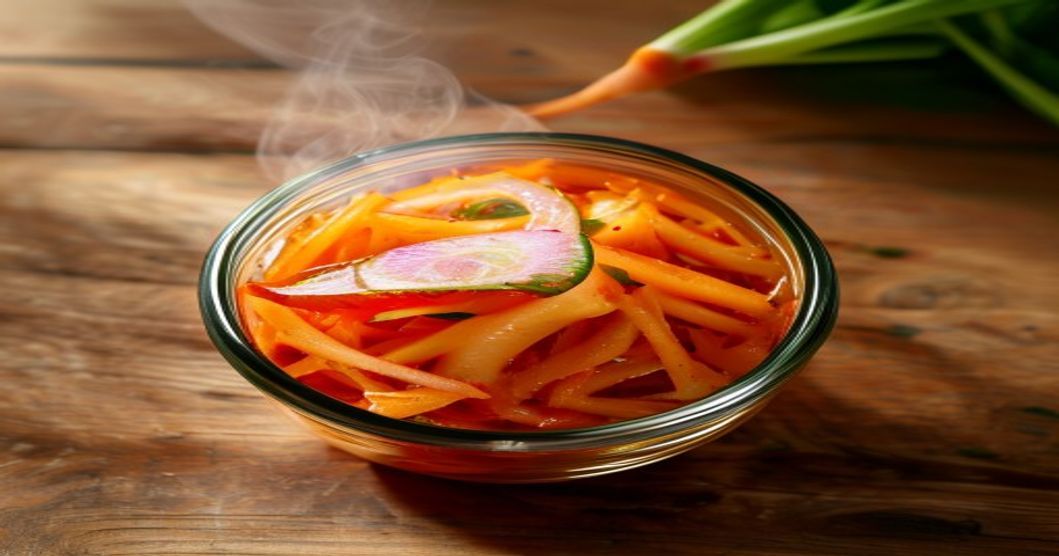
Make leek and carrot kimchi by layering thinly sliced vegetables with a garlic-ginger-sesame paste, salt, and a touch of fish sauce or soy for umami. Ferment at room temperature for 3–7 days, then refrigerate. It’s milder than chili-based kimchi, fresher-tasting, and perfect if you’re fermenting for the first time.
Why Leek and Carrot Kimchi Is Worth Your Time
If you’ve ever opened a jar of store-bought kimchi and flinched at the spice level, leek and carrot is your answer. The vegetables are naturally sweeter and more delicate than cabbage, which means they don’t need a ton of seasoning to taste vibrant. You get fermented complexity—that funky, pleasantly sour funk—without the heat.
Leeks bring a subtle onion-like sweetness that deepens during fermentation. Carrots add natural sugar and a satisfying crunch (if you slice them thin enough). Together with garlic, ginger, and a little sesame oil, they create a kimchi that tastes like a more refined, approachable side dish—something you’ll actually want to eat every day, not just use as a hot-sauce condiment.
Plus, the whole process takes about 20 minutes of active work. The fermentation does the rest.
What You’ll Need: Ingredients and Equipment
Ingredients
- 3 medium leeks (white and light green parts), cleaned and sliced into thin strips (about ¼ inch / 6 mm wide)
- 3 medium carrots, cut into matchsticks or thin strips (about ¼ inch)
- 3 tablespoons sea salt (divided: 2 tbsp for brining, 1 tbsp for the paste)
- 6 cloves garlic, minced or grated
- 1 tablespoon fresh ginger, grated
- 2 tablespoons sesame oil
- 1 tablespoon fish sauce or soy sauce (or more soy sauce if vegetarian)
- 1 teaspoon sugar
- 1 teaspoon sesame seeds (white or black, or both)
- 2 cups water
Equipment
- A clean glass jar or ceramic crock (1-quart / 1-liter capacity)
- A cutting board and sharp knife
- A small bowl for mixing the paste
- A spoon or pair of chopsticks for layering (optional but helpful)
- A kitchen scale (optional, but helpful for salt accuracy)
Step-by-Step Recipe: Making Leek and Carrot Kimchi
Step 1: Prepare and Salt the Vegetables (5 minutes)
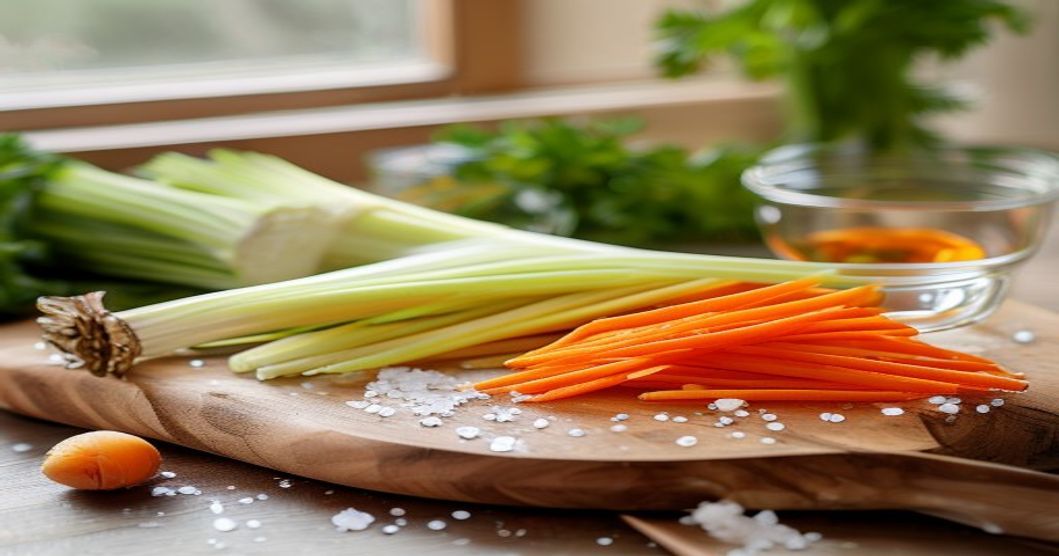
- Clean the leeks. Slice them lengthwise, then rinse between the layers to remove any grit. Slice into ¼-inch strips.
- Prepare the carrots. Peel and slice into thin matchsticks or very thin half-moons (the thinner, the better—they ferment faster and stay crunchier).
- Layer and salt. In your jar or crock, place a handful of leek strips on the bottom. Sprinkle with a small pinch of the 2 tablespoons of salt. Add a layer of carrot. Sprinkle again. Continue layering until all vegetables are in the jar, ending with a vegetable layer. The salt draws out moisture and creates a light brine.
- Let it sit 10 minutes. This gives the salt time to begin extracting liquid.
Step 2: Make the Flavor Paste (5 minutes)
- Combine garlic, ginger, and salt. In a small bowl, mix the minced garlic, grated ginger, 1 tablespoon sea salt, sesame oil, fish sauce or soy sauce, and sugar. Stir well. This paste is where all the umami and fermented goodness comes from.
- Taste and adjust. It should taste quite salty and strong—don’t be shy. The vegetables will dilute it as they ferment.
Step 3: Mix and Pack (5 minutes)
- Pour off excess liquid. If your vegetables released a lot of water, tip the jar slightly and pour out about half of it (you want some brine, but not too much).
- Add the paste. Pour the garlic-ginger mixture over the layered vegetables. Using a spoon or pair of chopsticks, gently toss everything together. Make sure the paste coats all the vegetables evenly.
- Pack it down. Push everything down so the vegetables are submerged under any liquid (this prevents mold). There should be a little brine covering the top. If you need more liquid, add a pinch of salt dissolved in 2 tablespoons of water.
- Sprinkle sesame seeds on top. This is optional but adds a nice visual and textural touch.
Step 4: Ferment (3 to 7 days)
- Leave the lid loose or use an airlock. Don’t seal the jar tight yet. Fermentation produces gas, and you need it to escape. If using a Mason jar, simply rest the lid on top without screwing it down, or open it once a day to burp (release gas).
- Keep it at room temperature. Ideally 65–75°F (18–24°C). A kitchen counter away from direct sunlight is perfect. Warmer kitchens ferment faster; cooler ones are slower.
- Check daily. On day 2 or 3, you’ll notice small bubbles and a pleasant, slightly funky smell. This is good. Taste a small piece. By day 3, it should taste pleasantly sour and tangy with the garlic-ginger flavor coming through.
- Refrigerate when ready. Once it reaches your preferred sourness (usually day 3–7), screw the lid on and move it to the fridge. Cold stops fermentation, so it’ll keep for weeks.
Common Mistakes and How to Avoid Them
Vegetables aren’t submerged: Mold grows on exposed surfaces. If your kimchi rises above the brine, weigh it down with a clean glass or ceramic weight, or fold a piece of parchment paper and press it down gently.
Jar sealed too tight from the start: Fermentation gas builds up and can crack the jar or force the lid off explosively (messy). Keep it loose for the first 3 days, then seal.
Too much or too little salt: Too much makes it unpalatable; too little risks unwanted bacteria. This recipe uses about 3% salt by weight of the vegetables, which is the sweet spot. If you’re nervous, start with 2.5% and adjust next time.
Fermented too long: Leek and carrot are tender and ferment faster than cabbage. Don’t leave it at room temperature for more than 7 days, or it’ll get mushy and over-sour. Refrigeration is your friend.
How to Use Your Homemade Leek and Carrot Kimchi
Once it’s fermented and refrigerated, leek and carrot kimchi is endlessly versatile. Serve it as a cold banchan (side dish) alongside rice and soup. Use it as a topping for rice bowls, bibimbap (mixed rice and vegetables), or even scrambled eggs for a quick breakfast. It works as a crunchy topping for grain bowls, or tossed into noodles. The mild, slightly sweet-sour flavor pairs well with fatty foods like pork or fried items—the fermentation cuts through richness beautifully.
Don’t throw away the leftover brine. Koreans use it to flavor soups or dressings, or even to start a new batch of kimchi. It’s liquid gold.

Variations and Tweaks
Want it slightly spicier? Add ½ teaspoon of gochugaru (Korean red chili flakes) to the paste, or a pinch of cayenne. It won’t be authentic kimchi heat, but it adds a subtle warmth.
Prefer it vegetarian? Replace fish sauce with extra soy sauce or a pinch of umeboshi (Japanese pickled plum) paste. You’ll lose some savory depth, but it still works.
Add other vegetables? Daikon radish, green onion, or even apple slices work alongside leek and carrot. Keep the ratio roughly the same and adjust fermentation time by a day if you use harder vegetables like radish.
Speed up fermentation? Keep the jar in a slightly warmer spot (70–75°F / 21–24°C). Just taste more frequently so you don’t overshoot sourness.
Leek and carrot kimchi is the gateway to fermenting at home. It’s milder, faster, and genuinely delicious—and once you taste what you’ve made yourself, you’ll understand why Koreans have been fermenting vegetables for thousands of years. Start with this recipe, trust the fermentation process, and taste daily. By day 3 or 4, you’ll have a proper, crunchy, umami-rich side dish that tastes nothing like the aggressive heat of store-bought versions.
Next step: If you want to try a no-fridge version for camping or road travel, check out our guide on how to make kimchi in a Mason jar without refrigeration. Or explore our full beginner’s kimchi guide and try a celery and sesame seed version once you’re confident.
Who This Recipe Is For (and Who It Isn’t)
Great for:
- Anyone who finds traditional kimchi too spicy or intense.
- Beginners fermenting for the first time—leek and carrot are forgiving vegetables.
- People with tender digestive systems who want fermented benefits without heat.
- Those who want a faster fermentation (3–5 days instead of weeks).
- Anyone looking for a mild, slightly sweet-sour side dish that pairs with almost any cuisine.
Not ideal for:
- People seeking the intense, fiery kick of traditional Napa cabbage kimchi with tons of gochugaru.
- Those who want a kimchi that stays crunchy for months—leek and carrot soften faster and are best consumed within 3–4 weeks.
- Strict vegans who don’t want fish sauce (though the soy sauce version works fine).
- Anyone without access to fresh ginger and garlic—they’re essential to the flavor.
Disclosure: This article contains affiliate links. If you click through and make a purchase on Amazon or another linked retailer, I may earn a small commission at no extra cost to you. As an Amazon Associate I earn from qualifying purchases. Thank you for supporting the site.