How to Make Cucumber Kimchi with Chili Flakes: A 3-Day Quick Fermented Side Dish Guide
Disclosure: This post may contain affiliate links. We may earn a commission on qualifying purchases at no extra cost to you.
You’ve had the craving for homemade kimchi (Korean fermented vegetable side dish) sitting in your head for weeks, but the thought of waiting two months for traditional napa cabbage kimchi feels like forever. Here’s the move: cucumber kimchi hits differently—it’s crisp, spicy, tangy, and genuinely ready to eat in just three days. No special equipment needed, no fish sauce guilt if that’s not your thing, and the whole project costs about as much as a takeout order.
Cucumber kimchi with chili flakes is a beginner-friendly, 3-day ferment that yields crispy, garlicky, spicy banchan (Korean side dishes). Use fresh cucumbers, gochugaru (Korean red chili flakes), garlic, ginger, and sea salt—no specialty gear required. Store in the fridge after day 3 and enjoy for up to 3 weeks.
Why Cucumber Kimchi Is Your Shortcut to Fermentation
If you’ve ever stared at a crock of napa cabbage kimchi fermenting on the counter for weeks, wondering if it’ll ever taste right, cucumber kimchi is the antidote. Cucumbers ferment faster because they’re mostly water—that same property that makes them crisp also means the flavors penetrate quickly and the fermentation process kicks off without delay.
The 3-day window is also forgiving for first-timers. There’s less guesswork than with longer ferments, and you can taste-test along the way. By day two or three, you’ll hit that sweet spot: still crunchy, pleasantly sour, loaded with garlic and chili heat, and genuinely indistinguishable from what a Korean grandmother would serve alongside rice and grilled meat.
Essential Ingredients for Quick Cucumber Kimchi
Keep the ingredient list short and let quality do the work. You need:
- Fresh cucumbers (2–3 pounds) – Use pickling varieties (like Kirby or Persian) or regular slicing cucumbers cut into spears or coins. Avoid the watery English greenhouse type if possible; the flesh-to-seed ratio matters here.
- Gochugaru (Korean red chili flakes, 3–4 tablespoons) – This is the backbone of heat and color. Unlike cayenne or crushed red pepper, gochugaru has subtle sweetness and mild fruitiness. Non-negotiable for authentic taste.
- Garlic (6–8 cloves) – Minced or pressed. Garlic is what transforms simple salt-fermented vegetables into actual kimchi.
- Fresh ginger (1-inch piece) – Minced or grated. A whisper of warmth that rounds out the spice.
- Sea salt (2 tablespoons) – The preservative and flavor base. Table salt works, but sea salt tastes cleaner.
- Filtered or boiled water (1 cup) – For the brine. Chlorine in tap water can interfere with fermentation.
- Optional: scallions (2–3), sesame seeds, or a pinch of sugar – Scallions add freshness, sesame adds nuttiness, and a tiny bit of sugar (half a teaspoon) balances the sourness if your brine tastes too acidic on tasting day.
The real money move? Source gochugaru from a Korean grocery or online—it’s cheaper in bulk than from mainstream supermarkets, and the quality is noticeably better. Same with fresh garlic and ginger; a Korean or Asian market will have you sorted faster than hunting through multiple supermarket aisles.
Step-by-Step Recipe: Making Cucumber Kimchi in 3 Days
Day 1: Prepare and Salt the Cucumbers
- Wash and cut your cucumbers. Scrub them under cold water and pat dry. Remove the blossom end (the softer end) to reduce enzymes that break down cell walls—this keeps your kimchi crisp. Cut cucumbers lengthwise into spears or into half-moons about quarter-inch thick. Thinner pieces ferment faster; thicker ones stay crunchier.
- Salt the cucumbers lightly. Toss the cut cucumbers with 1 tablespoon of sea salt in a large bowl. Let them sit for 15–20 minutes. They’ll start sweating (releasing water). This process, called osmotic dehydration, draws out excess moisture and concentrates flavor. You’re not making pickles here; you’re preparing the base for fermentation.
- Rinse and drain thoroughly. After 20 minutes, rinse the cucumbers under cold water to remove the salt layer. Spread them on a clean kitchen towel or paper towels and pat dry. You want them damp, not wet—excess water dilutes your fermentation brine and can encourage unwanted mold.
Day 1 (continued): Make the Fermentation Paste
- Combine gochugaru, garlic, and ginger. In a small bowl, mix 3–4 tablespoons of gochugaru (adjust for spice heat tolerance) with the minced garlic, minced ginger, and remaining 1 tablespoon of salt. Add a splash of the filtered water (about 2 tablespoons) to create a paste. Stir until you have a thick, cohesive spice mixture—it should coat the back of a spoon.
- Coat the cucumbers evenly. Add the dried cucumber pieces to a large, clean glass jar. Pour the chili paste over them and toss gently but thoroughly with a clean spoon or gloved hands. Every piece should be covered. If you’re adding scallions, toss them in now. Work quickly but carefully—you want flavor distribution without bruising the delicate cucumber.
- Add the brine. Pour the remaining filtered water (about 3/4 cup) into the jar. This creates a light brine that keeps everything submerged and supports fermentation. Don’t add too much—the goal is a salty, spicy liquid that comes about halfway up the cucumber pieces, not a soupy jar.
- Cover and set at room temperature. Use a jar with a tight-fitting lid or cover with a cloth secured with a rubber band. If using a screw-top lid, leave it very slightly cracked for the first day to allow gases from fermentation to escape. After day 1, seal it fully. Keep the jar out of direct sunlight, somewhere between 65–75°F (18–24°C)—a kitchen counter or pantry shelf is ideal.
Days 2 & 3: Monitor and Taste
By day 2, you’ll notice small bubbles rising—that’s the good stuff, beneficial Lactobacillus bacteria getting to work. The brine will look slightly cloudy, and the smell will shift from raw-onion pungent to pleasantly sour. This is exactly what you want.
On day 2, carefully open the jar and taste a single piece. It should have a tart edge and a solid chili kick. If it tastes too young—still mostly salty with little fermentation tang—reseal and wait until day 3. If it’s already hitting the flavor notes you love, move it to the fridge immediately. Refrigeration slows fermentation dramatically, locking in that flavor and preserving crunch.
By day 3, your cucumber kimchi will be fully fermented, tangy, and ready. Some people prefer it at this exact point; others like it to develop one more day in the fridge (day 4 total) for deeper complexity. There’s no “right” answer—it’s purely about your taste preference.
If you open the jar on day 2 or 3 and spot white fuzzy mold on the surface, it’s contaminated—discard it. However, a thin white film (kahm yeast) is harmless; just skim it off with a clean spoon and taste. Proper salt levels and clean equipment prevent this almost entirely.
Storage and Serving Your Quick Cucumber Kimchi
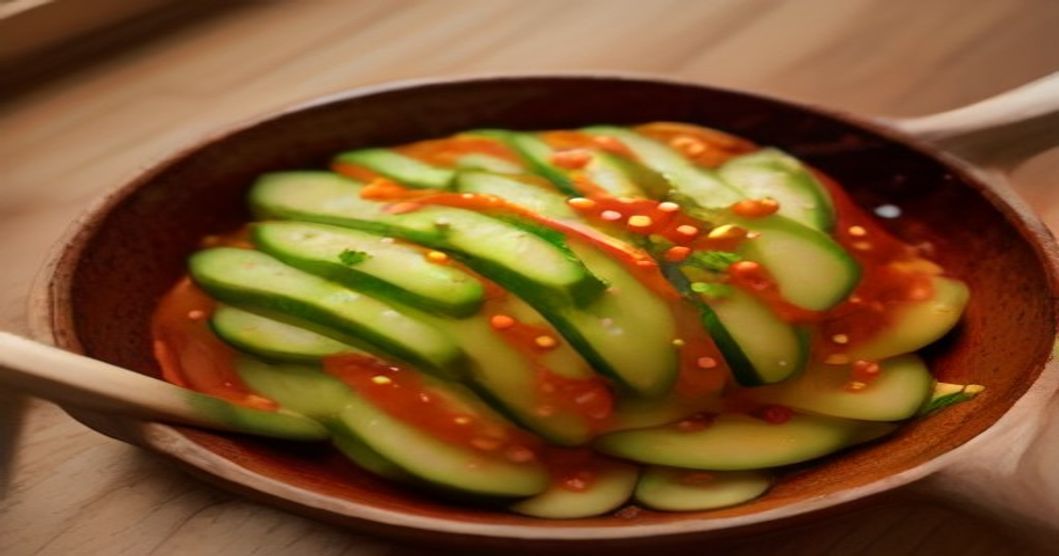
Once fermented, transfer the jar to the refrigerator. The cold temperature essentially puts fermentation on pause, so the flavor stays locked in. In the fridge, cucumber kimchi keeps for 2–3 weeks, though the cucumbers will gradually soften the longer they sit—not a deal-breaker, just a texture shift.
Serve cucumber kimchi as a banchan alongside rice, grilled meat, or soup. A small spoonful is enough to cut through richness; the spice and acid are intense. It pairs especially well with Korean grilled pork belly (called galbap) or simple chicken and rice bowls. You can also chop it and add it to fried rice, stir into mayo for a spicy dip, or toss it through avocado on toast if you’re feeling creative.
Don’t waste the brine. Once you’ve eaten all the cucumber pieces, that tangy, chili-spiked liquid is liquid gold for salad dressings, marinades, or a quick pickled vegetable base. Pour it over hard-boiled eggs, fresh radishes, or even roasted vegetables.
Common Mistakes and How to Avoid Them
- Using tap water with chlorine. Chlorine kills fermentation bacteria. Always use filtered, bottled, or boiled-and-cooled water for the brine.
- Skipping the initial salt treatment. Some people skip the 15-minute salt soak and head straight to the jar. Don’t. That pre-salt step removes excess water and prevents mushiness. It’s not optional.
- Not keeping the jar covered properly. Loose lids invite mold and unwanted bacteria. Use clean, airtight containers or sealed cloth covers. A crack on day 1 only; sealed from day 2 onward.
- Fermenting in a warm kitchen. Above 75°F (24°C), fermentation moves too fast and the cucumber texture suffers. Aim for cool to room temperature. If your house runs hot, ferment in a cooler closet or lower cabinet.
- Under-salting or over-salting. 2 tablespoons total salt for this batch is the sweet spot. Too little and fermentation is sluggish and risky; too much and you get an overly salty brine that needs rinsing. Measure properly.
Sourcing Quality Ingredients: Where to Buy
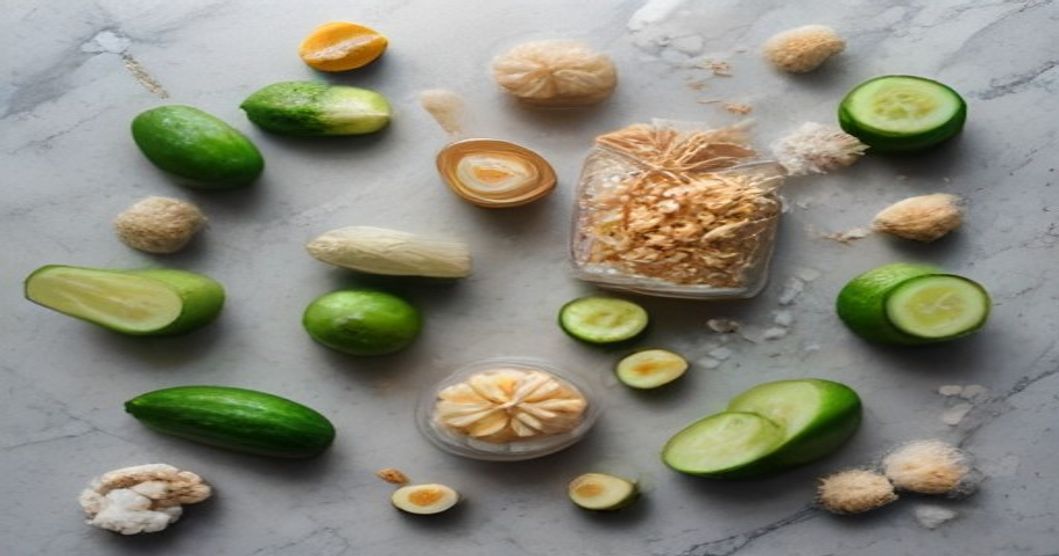
The difference between grocery-store gochugaru and Korean-market gochugaru is the same as comparing supermarket cinnamon to freshly ground cardamom. Korean groceries and online retailers carry authentic gochugaru in a range of textures—fine powder to coarse flakes—and you can buy exactly the amount you need without paying a premium.
For garlic and ginger, shop at farmers’ markets or ethnic groceries where turnover is high. Fresher produce ferments better and tastes noticeably more vibrant. Avoid pre-minced garlic in jars; it’s been treated with preservatives that can muddy fermentation.
If you’re on Amazon or similar online retailers, you can find Korean brand gochugaru, glass fermentation jars, and even sea salt in bulk. As an Amazon Associate I earn from qualifying purchases. Having a stash of gochugaru at home means cucumber kimchi is a spontaneous dinner project, not a planned errand.
Taking the Experiment Further: Variations to Try
Once you’ve nailed the basic 3-day cucumber kimchi, the variations are endless. Add thin-sliced white onion or Korean daikon radish for a mixed vegetable ferment. Toss in a splash of rice vinegar or apple cider vinegar on day 3 if you want a sharper tang without waiting longer. Some cooks add a pinch of sugar (just a quarter-teaspoon) to balance spice and sourness—taste first, then decide if you need it.
If you want to explore longer ferments, check out the related guides on daikon radish kimchi (which takes similar timing) and napa cabbage kimchi (which requires more patience but deeper flavor). Each vegetable ferments at its own pace, and understanding those rhythms opens up a whole pantry of homemade condiments.
Cucumber kimchi with chili flakes is your gateway to fermented Korean cooking. Three days, five ingredients, zero special equipment—just clean jars, proper salting, and patience. The result is crispy, garlicky, spicy banchan that’ll make you wonder why you ever bought jars from the store. Keep a batch fermenting in your fridge at all times, and you’ll never run out of instant side dishes. Start today and taste the difference homemade makes by Wednesday dinner.
Who This Recipe Is For (And Who It’s Not)
- Beginner fermenters wanting fast results
- People who love spice and tangy flavors
- Home cooks seeking quick Korean banchan
- Those without special fermentation gear
- Anyone avoiding fish sauce or animal products
- Heat-sensitive eaters (adjust spice down, but expect chili flavor)
- People who dislike fermented tang or sour tastes
- Anyone seeking crunch after 3+ weeks (texture softens over time)
- Kitchens that run constantly warm (above 75°F)
Related Guides to Expand Your Kimchi Skills
Once you’ve mastered cucumber kimchi, explore these variations and techniques:
- How to Make Kimchi with Daikon Radish and Apple: Sweet and Spicy Fermented Side Dish – A slightly longer ferment with added complexity from sweet fruit and crisp radish.
- How to Make Kimchi with Napa Cabbage and Gochugaru: A Beginner’s Guide Without Fish Sauce – The classic approach, fish-sauce free, for traditional deep flavor.
- Korean Pantry Essentials: 10 Ingredients Every Home Cook Needs – Stock your shelves with the foundational flavors that make Korean cooking sing, including multiple types of gochugaru and condiments.
Disclosure: This article contains affiliate links. As an Amazon Associate I earn from qualifying purchases. If you click a link and make a purchase, I may receive a small commission at no extra cost to you. This helps support the site and keep these guides free. All opinions and recommendations are my own.