How to Make Kimchi with Celery and Sesame Seeds: A Mild Fermented Side Dish at Home
Disclosure: This post may contain affiliate links. We may earn a commission on qualifying purchases at no extra cost to you.
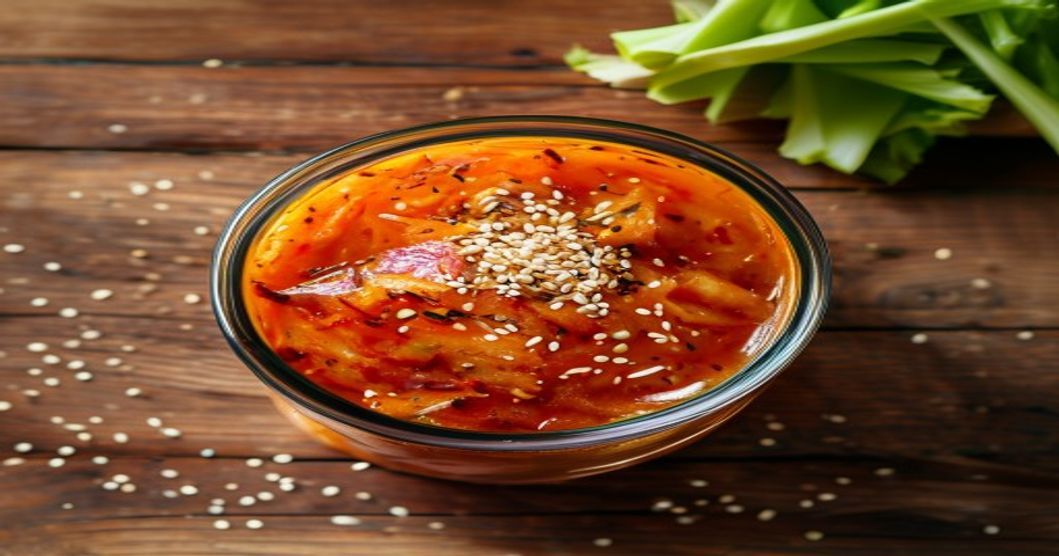
Celery kimchi with sesame seeds is the gentler cousin of the fiery napa cabbage classic—it ferments in under a week, tastes mildly spiced, and stays pleasantly crisp in your fridge for months. If you’ve ever worried that traditional kimchi would be too hot or too funky, this version flips the script. Sesame brings a warm, toasty note that rounds out the fermentation tang, and celery’s natural sweetness means you’re not fighting an aggressive vegetable personality.
Celery kimchi with sesame seeds ferments in 3-5 days, stays mild and crisp, and is the perfect gateway into homemade Korean fermentation if you’re wary of heat. The ingredients are cheap and easy to source; the technique is genuinely forgiving.
Why Celery Kimchi Is Your Best Starter Ferment
Most people’s first encounter with kimchi is the famous napa cabbage version—crunchy, funky, and with enough chili kick to wake you up. But napa kimchi isn’t the only game in town, and it’s honestly not the best entry point if you’re nervous about fermentation or heat.
Celery kimchi wins because it’s forgiving. The vegetable is sturdy enough to handle aggressive salting without turning into mush, yet soft enough to let flavors penetrate quickly. Sesame seeds aren’t just a garnish here—they’re doing real work, adding umami and a nutty depth that makes you feel like the kimchi is more complex than it actually is. And the fermentation timeline is genuinely fast. You’re not waiting two weeks for napa cabbage to develop its full funk; you’re tasting edible kimchi in three days, perfected by day five.
The heat level is also adjustable from the jump. You control how much gochugaru (Korean fermented chili flakes) goes in the paste, which means this is one of the few kimchis where you can dial the spice down without feeling like you’re cheating.
Ingredients You’ll Need
Here’s what you’re actually buying. Everything except the celery is shelf-stable and dirt cheap if you shop Asian grocery stores online or in person.
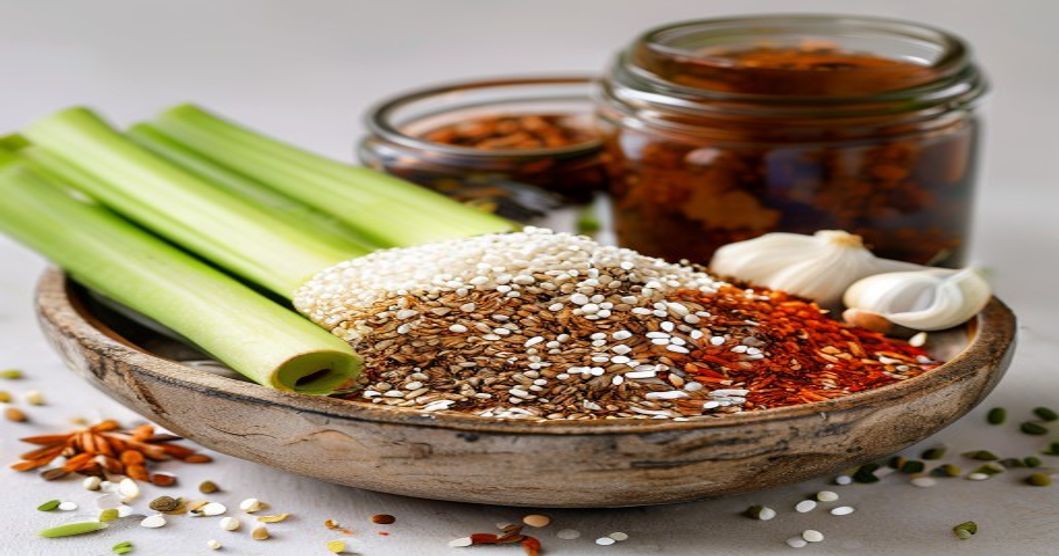
- 2 lbs fresh celery, cut into 2-inch pieces (about 1 bunch)
- 3 tablespoons coarse sea salt (not table salt—the grain matters)
- 2 tablespoons gochugaru (Korean chili flakes; start here, adjust down if you hate heat)
- 4 cloves garlic, minced fine
- 1 tablespoon fresh ginger, minced
- 3 tablespoons white sesame seeds (or a mix of black and white)
- 1 teaspoon sugar (feeds the fermentation bacteria)
- 2 tablespoons fish sauce (optional but recommended; use vegetarian oyster sauce if you skip it)
- 1 teaspoon sesame oil (finish-line ingredient)
Sourcing note: Coarse sea salt, gochugaru, and sesame seeds are easy finds on Amazon or at any Korean market. Fish sauce is available at most supermarkets now, tucked in the Asian aisle. If you can’t find gochugaru, you can substitute with paprika or other chili powders, though the flavor will shift slightly.
Step-by-Step: Making Your First Batch
1. Prep and Salt Your Celery
Rinse your celery under cold water and pat it completely dry. Water is the enemy here—it dilutes your salt ratio and invites unwanted bacteria. Cut each stalk into 2-inch pieces (smaller pieces ferment faster; if you like more texture, go bigger).
In a large bowl, toss the celery with 2.5 tablespoons of your sea salt. Let it sit for 20-30 minutes. You’ll see liquid starting to weep out of the celery—that’s osmosis doing its job. This brine will become your fermentation liquid, which is exactly what you want.
2. Make Your Paste
While the celery rests, combine your minced garlic, ginger, gochugaru, and the remaining 0.5 tablespoon of salt in a small bowl. Add your teaspoon of sugar and fish sauce (if using). Stir until it becomes a thick, loose paste—it should look like chunky wet sand, not a soup.
Now toast your sesame seeds briefly in a dry pan over medium heat (about 2 minutes). You’re just waking up their flavor; don’t let them brown. Add them to the paste and stir.
3. Combine Everything
Drain the liquid that accumulated around your celery (save it—you’ll use it). Add the celery pieces to your paste bowl and fold everything together with clean hands (yes, hands—you need the tactile control). Make sure every piece gets coated. This should take about 2-3 minutes of gentle folding. Don’t mash or bruise the celery.
Pack your mixture into a clean glass jar, pressing down firmly so the celery is submerged in its own liquid. If the reserved brine doesn’t cover everything, add a splash of filtered water. The key rule: vegetables must stay under liquid, or mold finds a home.
4. Ferment and Taste
Cover your jar loosely with a cloth or an upside-down small plate (you want gases to escape; an airtight seal will either explode your jar or trap bad flavors). Leave it on the counter away from direct sunlight, somewhere cool-ish (ideally 65-72°F).
On day 3, open the jar and taste a piece. It should smell a little funky and tangy, with a soft chew. If it tastes young and bland, let it go another 2 days. By day 5, it should be clearly fermented—tangy, complex, with a gentle heat (or mild flavor if you used less gochugaru). Once it hits your sweet spot, cap it and move it to the fridge to slow fermentation.
Troubleshooting Your Batch
It tastes too salty. You used too much salt or didn’t rinse your celery before mixing. Next time, use the lower end of the salt range. Right now, rinse individual pieces before eating, or dilute the jar liquid with a little filtered water.
There’s white mold on top. Stop. This is kahm yeast, not a dangerous mold, but it tastes off. Skim it off carefully, make sure your vegetables are fully submerged, and move the jar to a cooler spot. It shouldn’t come back.
It’s mushy. Your celery was cut too small, or you let it ferment too long in a warm space. Next time, use 2-inch pieces and check on day 4. Celery is naturally softer than napa, so watch it closely.
There’s no fizz or bubbles. This is normal if your kitchen is cold. Fermentation is happening; you’re just not seeing active bubbling. Taste it on day 5 instead of day 3. If it tastes flat and bland after a week, your ingredients had very low salt or the jar was sealed too tightly.
Storage and Shelf Life
Once it’s fermented to your liking, refrigerate it. Cold stops fermentation dead—your kimchi will stay stable in the fridge for 2-3 months, sometimes longer. The flavor will deepen over time, and it won’t spoil as long as the vegetables stay under liquid.
If you want to eat it fresh and crispy (which is a valid style), refrigerate it early, around day 2. If you like it softer and more intensely funky, let it go longer before chilling.
How to Use Your Celery Kimchi
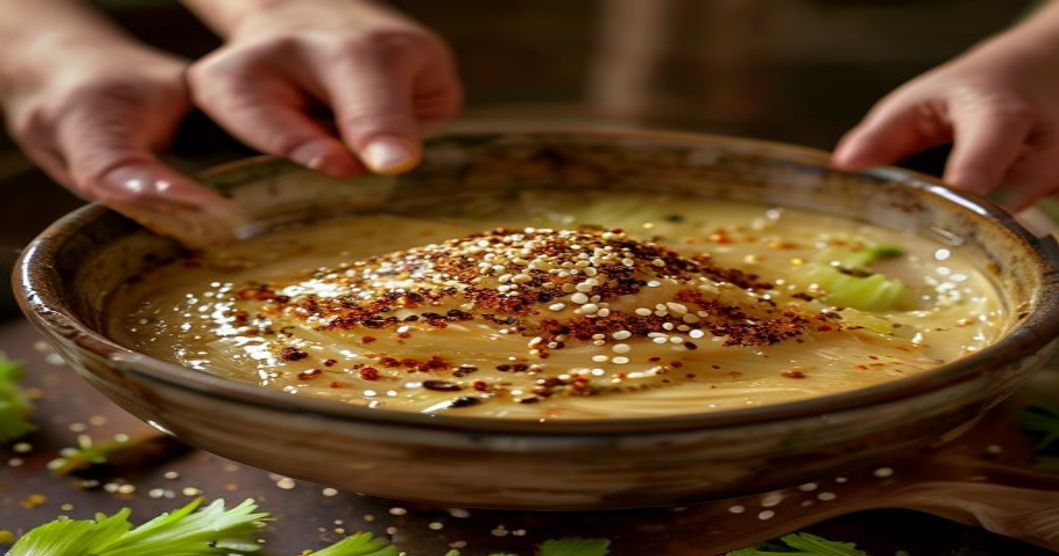
This is a banchan (Korean side dish), which means it pairs with almost everything. Serve it cold from the fridge alongside rice and other sides, or use it as a condiment on rice bowls. The mild flavor makes it less polarizing than spicy kimchi, so it works in lunchboxes and even with picky eaters.
You can also chop it up and add it to fried rice in the last 30 seconds of cooking, stir it into mayo for a kimchi sandwich spread, or fold it into cream cheese for a funky appetizer. The sesame seeds add texture that holds up to heat, so it won’t turn to mush if you cook with it.
- Fast fermentation (3-5 days)
- Celery stays crisp and doesn’t get mushy
- Mild and heat-adjustable for beginners
- Sesame seeds add unexpected depth
- Ingredients are cheap and widely available
- Lasts 2-3 months in the fridge
- Not traditional (purists may judge)
- Celery can turn mushy if overfermented
- Requires a cool spot for best results
- Flavor is milder than napa cabbage kimchi
- Salt level is finicky; too much ruins it
Who This Kimchi Is For (and Who It’s Not)
It’s perfect if you:
- Are new to fermentation and want something forgiving
- Don’t enjoy fiery heat but want funky fermented flavor
- Like mild, approachable side dishes
- Want a fast turnaround (can’t wait two weeks for napa)
- Enjoy sesame as a flavor anchor
- Are making kimchi for mixed crowds (spice-sensitive friends included)
It’s probably not right if you:
- Love intense chili heat and want kimchi to dominate
- Expect kimchi to taste exactly like restaurant napa cabbage kimchi
- Don’t have cool storage (warm kitchens make it ferment too fast)
- Prefer crunchy vegetables over softer textures (celery softens as it ferments)
- Want something you can make and forget for weeks (it needs monitoring)
Next Steps: What to Try After This
Once you nail celery kimchi, you’ve got the fermentation framework locked. The same technique works for mustard greens (which are more traditional and have more personality), radish, or bok choy. If you want to explore further, try mustard greens and ginger kimchi, which ferments the same speed but has more assertive flavor. Or dive into bok choy and radish kimchi if you want to skip napa cabbage entirely.
The lessons from celery—salt timing, fermentation monitoring, the power of sesame—carry forward to every other kimchi you’ll make.
Celery kimchi with sesame seeds is the easiest, fastest, and friendliest homemade kimchi you can make. It’s ready in under a week, stays mild and crisp, and teaches you everything you need to know about fermentation without the risk or fuss of napa cabbage. Buy your ingredients on Amazon or at a Korean market, follow the four-step process, and you’ll have a store-quality fermented side dish that lasts months. The sesame seeds are the secret—they elevate something simple into something that tastes intentional and complex.
Affiliate Disclosure
This article contains affiliate links to Amazon and other retailers. If you click and make a purchase, I may earn a small commission at no extra cost to you. As an Amazon Associate I earn from qualifying purchases. This helps support the site and allows me to keep creating free fermentation guides and Korean cooking content. I only recommend products and ingredients I genuinely believe are useful for home cooks.