How to Make Kimchi Without Napa Cabbage: Bok Choy and Radish for Beginners
Disclosure: This post may contain affiliate links. We may earn a commission on qualifying purchases at no extra cost to you.
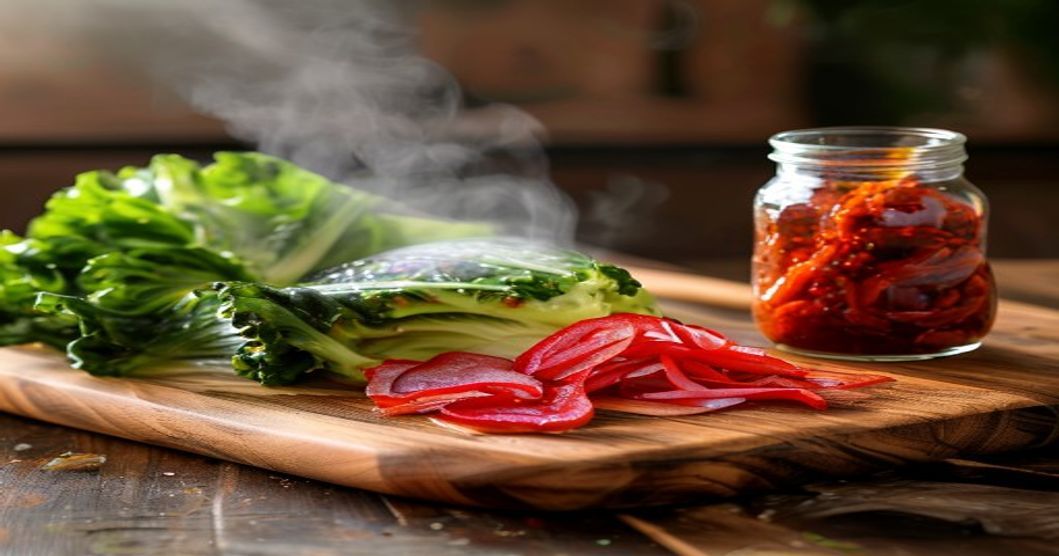
Napa cabbage is the classic for kimchi, but it’s not your only move—especially if you’re staring at a farmers market overflowing with bok choy and radishes, or if your grocery doesn’t stock napa year-round. The good news: bok choy and radish make genuinely excellent kimchi, with better crunch and a slightly different (equally delicious) flavor profile than the standard version. This guide walks you through it, no special equipment needed.
Bok choy and radish make vibrant, crunchy kimchi with a tangier edge than napa cabbage versions. Mix tender bok choy (softer when fermented) with julienned radish (stays snappy), salt them gently, coat with a spicy paste, and ferment at room temperature for 2–4 days. It’s easier for beginners than people think—less finicky than napa cabbage, honestly.
Why Bok Choy and Radish Are Actually Better for Beginners
Let me be direct: napa cabbage is traditional, but it’s also a workhorse in the kitchen—it absorbs salt unevenly, can turn mushy if you’re not careful with timing, and sometimes tastes bitter if the head was old. Bok choy, by contrast, is gentler. Its leaves soften predictably during fermentation, and the white stems stay firm. Radish (daikon, the long white root vegetable used in Korean cooking) brings a peppery snap that doesn’t fade, even after weeks in the jar.
The flavor balance is sharper, more alive. Where napa kimchi becomes mellow and umami-rich over time, bok choy and radish kimchi keeps an edge—it tastes bright and acidic longer. If you like your kimchi a little assertive, this is your base.
Ingredients You’ll Need (For About 2 Pounds of Kimchi)
- 1.5 pounds bok choy (about 3 small to medium heads), white and green parts separated and sliced lengthwise into 2-inch pieces
- 12 ounces radish (daikon), peeled and cut into thin matchsticks or julienned
- 2 tablespoons coarse sea salt (not iodized), divided
- 5 cloves garlic, minced very fine
- 1 tablespoon fresh ginger, minced
- 3 tablespoons gochugaru (Korean red chili flake powder)
- 1 tablespoon fish sauce (or 1 tablespoon soy sauce + 1 teaspoon seaweed broth if vegetarian)
- 1 teaspoon sugar
- 2 green onions, cut into 1-inch pieces (if you want a deeper dive into green onion kimchi variations, check out our guide on green onion and garlic kimchi without fish sauce)
- 1 teaspoon toasted sesame seeds (optional but adds depth)
A note on gochugaru: If you don’t have it yet, it’s one Korean ingredient absolutely worth sourcing online or at any Asian grocery. Regular red pepper flakes are sharper and dustier; gochugaru has a fruity, complex heat that defines the whole dish. If you’re stuck, use half the amount of red pepper flakes, but do yourself a favor and grab real gochugaru next time—it costs three dollars and lasts months.
Step-by-Step: Making Your First Batch
Step 1: Prep and Salt Your Vegetables
Rinse the bok choy under cold water, then separate the white and green parts. This matters because the white stems take longer to soften—you want them exposed to salt first. Cut the white parts lengthwise into 2-inch strips; roughly chop the green leafy tops into bite-sized pieces. Peel the radish and cut it into thin matchsticks about the length of a matchbox. Thinner cuts ferment faster and soften more evenly.
In a large bowl, combine the bok choy (whites first, then greens) and radish. Sprinkle 1.5 tablespoons of salt over everything and massage gently with your hands for about 2 minutes. You’re not bruising—just enough to coat and begin releasing moisture. Let it sit for 20-30 minutes. You’ll see liquid pooling at the bottom; that’s what you want. Drain most of it off (save a bit; we’ll use it later). This step draws out excess water so your ferment doesn’t get mushy and watery.
Step 2: Make Your Chili Paste (The Flavor Base)
In a small bowl, whisk together the gochugaru, minced garlic, minced ginger, fish sauce (or soy sauce), sugar, and remaining 0.5 tablespoon of salt. Add a splash of the liquid you drained earlier—just enough to make a thick, spreadable paste. If it feels too dry, add another teaspoon of drained liquid. The consistency should be like thick tomato paste, not runny. Taste a tiny bit on your finger: it should taste assertively salty and spicy, not balanced yet (fermentation and time will round it out).
If using sesame seeds, have them ready to scatter on top of each layer.
Step 3: Coat and Layer Into a Jar
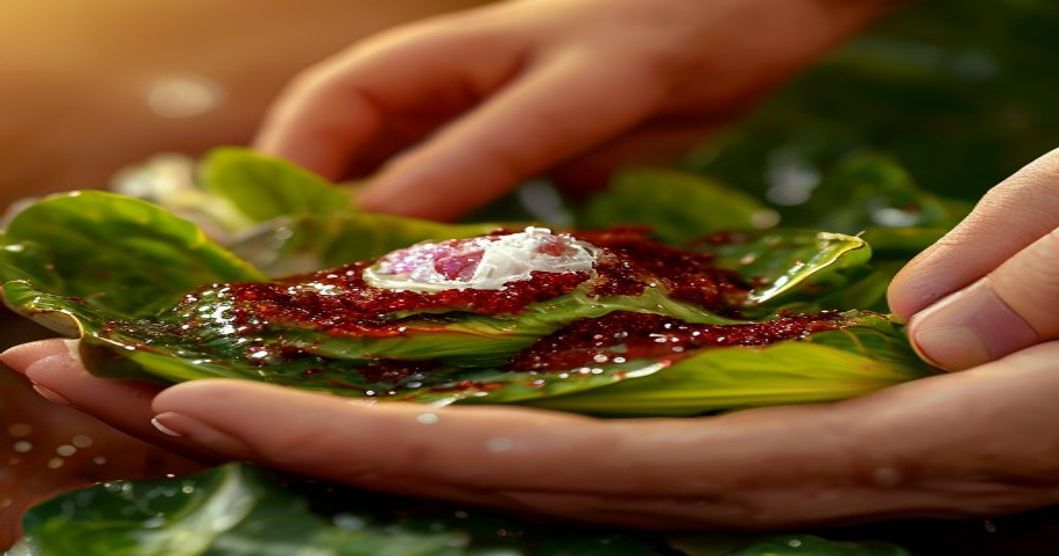
Here’s where the actual ‘making kimchi’ part happens. Take a handful of your drained vegetables and massage them with a generous spoonful of the chili paste, coating every surface. Don’t hold back—you want every piece red and covered. Pack this into a clean glass jar (or ceramic crock if you have it), pressing down firmly to eliminate air pockets. Sprinkle a few sesame seeds. Repeat with another handful of vegetables, paste, and seeds, layering until the jar is three-quarters full. You should have some paste left; spread the final bit over the top layer.
Press down one more time so the vegetables are submerged and liquid rises slightly above them. If there’s not enough liquid (sometimes happens if your bok choy was dry), make a quick brine: dissolve 0.5 teaspoon salt in 2-3 tablespoons cold water and pour it in. The vegetables need to stay underwater to prevent mold.
Step 4: Ferment (The Waiting Game)
Leave the jar on your counter at room temperature (ideally 65-72°F). Do not seal it tight—use a loose lid or cover with cheesecloth and a rubber band. Fermentation produces gas; if you trap it, the jar will explode (or at least pop its lid dramatically). You’ll see bubbles by day 1, which is perfect.
Taste daily starting on day 2. By day 2 you’ll notice tang and softness in the bok choy leaves. The radish stays crunchy. By day 3-4, it tastes distinctly kimchi-like. Once it’s where you like it, seal the jar and move it to the fridge. Cold fermentation slows the process dramatically—your kimchi will last weeks and keep developing flavor.
Radish ferments faster than bok choy. If you notice the radish getting too soft before the bok choy tastes done, cut the radish into thicker batons next time, or add it during step 3 instead of at the start. Also, write the fermentation start date on your jar with a marker—it’s easy to forget which day you started.
Variations and Flavor Tweaks
Vegetarian Version
Skip the fish sauce. Use 1 tablespoon soy sauce + 1 teaspoon of light miso paste (or kombu broth from dried seaweed) instead. You lose some umami depth but gain a cleaner vegetable-forward flavor. A touch of extra sugar (0.5 teaspoon more) helps balance. It’s still delicious—just different.
Extra Garlic (My Preference)
The recipe calls for 5 cloves, which is honest. If you love garlic like I do, go to 7 cloves. Bok choy actually mellows garlic sharpness as it ferments, so you can be generous. Green onions also help—they add brightness and cut through garlic’s intensity nicely, which is why they’re in the ingredient list.
Mild Heat
Use 2 tablespoons gochugaru instead of 3, and add 0.5 teaspoon more sugar to round out the flavor. It won’t taste sweet, just less spicy.
Faster Ferment
Warmer room = faster ferment. If your kitchen is closer to 75°F, check by day 2. If it’s 60°F or cooler, expect 5-7 days. The flavor develops slower in cold but can taste sharper when done. There’s no ‘wrong’ speed—just taste and decide when it’s ready for the fridge.
Common Mistakes and How to Avoid Them
Over-Salting
This is the biggest beginner trap. Two tablespoons might sound like a lot, but spread across 1.5 pounds of vegetables, it’s about 2% salt by weight—the industry standard for fermentation. If you added extra salt during step 1 thinking ‘more salt = better preservation,’ you’ve made inedible brine. Next time, follow the recipe exactly. You can always add salt to taste later; you can’t remove it.
Vegetables Floating or Browning
Both mean air exposure. Bok choy leaves especially are light and want to float. Press down hard when you jar everything, and make sure liquid covers the top layer. If mold forms (fuzzy white or pink), scoop it off immediately and the rest is fine. But prevention is easier—just keep things underwater.
Too Sour, Too Fast
Your kitchen was too warm. Taste by day 2 next time and move to the fridge sooner. Fermentation doesn’t stop in the cold; it just slows to a crawl, giving you more control. Many home cooks ferment at room temp for just 1-2 days, then refrigerate for weeks while flavor deepens gently.
Bitter Taste
Bok choy can turn bitter if it’s old or if you ferment it too long. Always use fresh, young bok choy with firm stems. Also, taste by day 3 instead of day 5. Some people ferment napa kimchi for a week; bok choy and radish usually need less time.
Serving and Storage
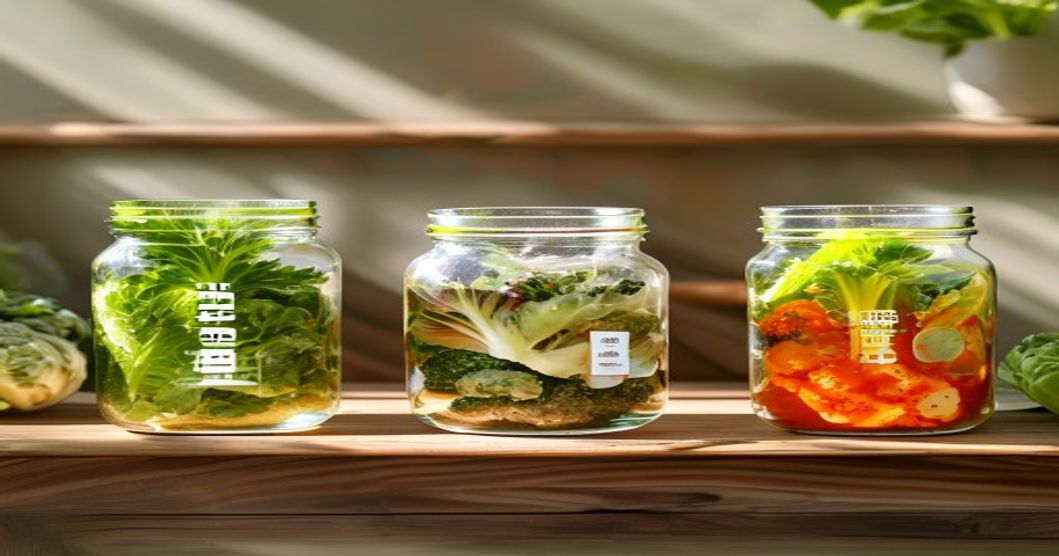
Once you move your jar to the fridge, kimchi is good for 2-3 months, sometimes longer. The flavor gets deeper and funkier over time, which some people love and others find overpowering. Eat it as a side dish with rice, add a spoonful to stews, chop it into fried rice, or use it as a condiment for grilled meat. The brine is valuable too—toss it with noodles or use it as a soup base.
If you have more questions about Korean ingredient sourcing, our article on the best gochujang brands for authentic Korean cooking at home walks through where to find quality products. And if you’re curious about garlic substitutes or how to handle ingredient swaps, check out what really works (and what doesn’t) as a garlic powder substitute in Korean cooking.
Equipment You Already Have
You don’t need special fermentation jars or weights. A clean glass mason jar, a small plate that fits inside the rim, and a ceramic bowl or cup to weigh the plate down works perfectly. Or just pack tightly and use a cheesecloth. The fancy fermentation gear is nice but not necessary—millions of people have been making kimchi in regular jars for decades.
Bok choy and radish kimchi is forgiving, fast, and tastes fantastic—often better than napa if you like brightness and crunch. The key is gentle salting, full coating with paste, keeping vegetables underwater, and tasting by day 2 so you catch the sweet spot before it gets too sour. Start with this recipe exactly, then adjust garlic, heat, and fermentation time based on your taste. You’ll have a jar of real kimchi in less than a week, no special gear required.
Disclosure
This article contains affiliate links to Amazon and other retailers for Korean ingredients and cookware. We may earn a commission on qualifying purchases at no extra cost to you. As an Amazon Associate I earn from qualifying purchases.