How to Make Turnip and Scallion Kimchi: A Crunchy 7-Day Fermented Side Dish
Disclosure: This post may contain affiliate links. We may earn a commission on qualifying purchases at no extra cost to you.
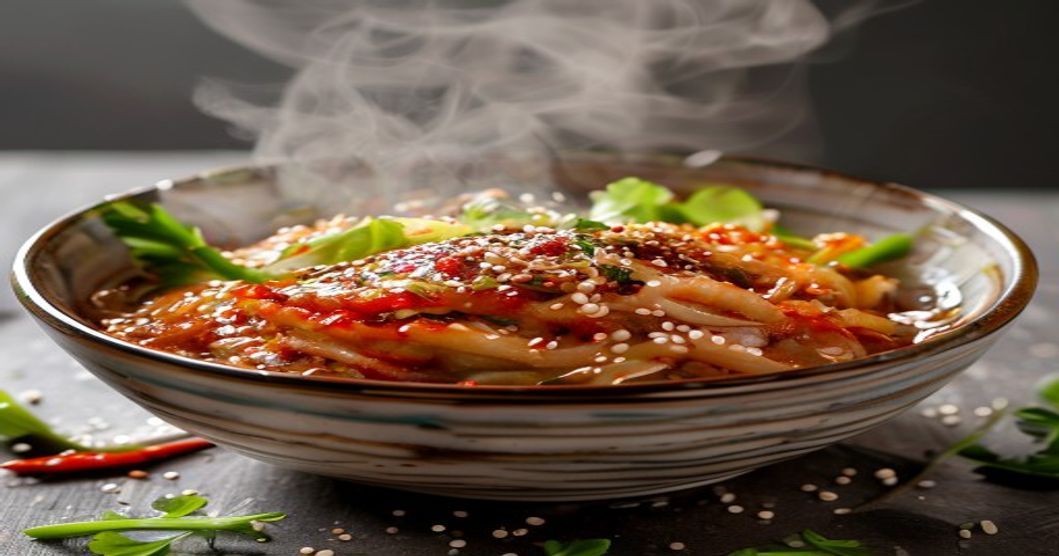
Turnip and scallion kimchi—or mu kimchi in Korean—is the unsung hero of the banchan (side dish) world. It’s crunchier and lighter than traditional napa cabbage kimchi, ready to eat in just 7 days, and honestly, it’s the easiest place to start if you’ve never fermented anything. The turnips stay crisp because they’re dense and sturdy, the scallions add a subtle onion bite, and the whole thing comes together with pantry staples: salt, gochugaru (Korean red chili flakes), garlic, ginger, and a little sugar. No special equipment needed—just a clean jar, time, and patience. By day 7, you’ll have a tangy, crunchy side dish that pairs with everything from rice to grilled meat to leftover pizza.
Mix fresh turnips and scallions with a gochugaru paste, salt, and basic pantry aromatics, then let them ferment at room temperature for 7 days. The result: a crisp, tangy banchan that’s ready to serve and lasts 2–3 weeks in the fridge. No special fermentation gear required.
Why Turnip Kimchi Is Worth Your Time
If you’ve only eaten napa cabbage kimchi, turnip kimchi feels like a different animal. The texture is snappier—turnips don’t soften much during fermentation, so you get that satisfying crunch even after two weeks in the fridge. The flavor is milder and slightly sweeter, making it less intimidating if you’re new to fermented foods or cooking for people who find traditional kimchi too funky.
The scallions add an herbaceous edge that mellows as the fermentation progresses—so day-1 kimchi tastes bright and raw, while day-10 kimchi is deeper and more integrated. And practically speaking, turnips are cheap year-round in most supermarkets, so the whole batch costs a fraction of what you’d pay for kimchi at a Korean market. You’re also controlling exactly how much salt and heat go into it, which matters if you’re watching sodium or feeding people with different spice tolerances.
Ingredients You’ll Need
This recipe makes about one quart of kimchi, enough for a small household for 2–3 weeks. Scale up or down based on how many people you’re feeding.
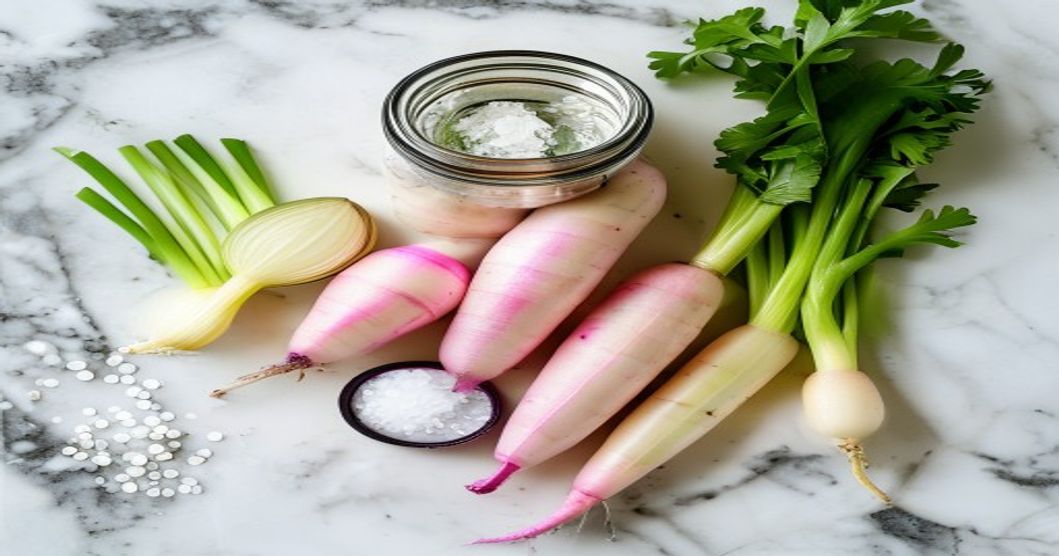
- 2 pounds fresh turnips (about 4–5 medium), peeled and cut into 2-inch batons or thin half-moons
- 1 bunch scallions (about 6–8 stalks), white and light-green parts separated from dark-green tops, cut into 1-inch pieces
- 2 tablespoons kosher salt (or 1.5 tablespoons table salt—it’s denser)
- 3 tablespoons gochugaru (Korean red chili flakes; adjust to taste)
- 4 cloves garlic, minced or grated on a microplane
- 1 tablespoon fresh ginger, minced or grated
- 1 tablespoon sugar (feeds the fermentation bacteria)
- 1 tablespoon fish sauce (or soy sauce if vegetarian)
- 1 tablespoon rice vinegar (optional but adds complexity)
- 1 tablespoon sesame oil
- 1 teaspoon sesame seeds (for garnish)
- Water, as needed for the brine
Step-by-Step Fermentation Process
Day 1: Prep and Salt
Start by preparing your vegetables. Peel the turnips with a vegetable peeler (or a knife if the skin is thin) and cut them into batons or thin half-moons—consistent thickness matters because it ensures even fermentation. Trim the scallions, keeping the white and light-green parts separate; you’ll add the dark-green tops later for color and freshness. Rinse everything thoroughly under cold water and pat dry with a clean kitchen towel.
In a large mixing bowl, toss the turnips and scallion whites with kosher salt. This step—called “dry salting”—draws out water from the vegetables and begins breaking down their cell walls, making them more receptive to fermentation. Let this sit uncovered on the counter for 15–30 minutes, stirring once halfway through. You’ll see liquid beginning to pool at the bottom of the bowl. This is normal and essential.
Day 1: Make the Paste and Combine
While your vegetables are salting, prepare the flavor paste. In a small bowl, whisk together gochugaru, minced garlic, minced ginger, sugar, fish sauce, rice vinegar (if using), and sesame oil. The mixture should look like wet sand. Taste it—it should be spicy, salty, and slightly sweet. If it’s too salty, add a splash of water; if it’s too mild, add more gochugaru in small pinches.
Add the paste to your salted vegetables and mix thoroughly with a clean spoon or (preferably) clean hands. Getting your hands in there lets you distribute the paste evenly without bruising the vegetables too much. Add the dark-green scallion tops now, and stir again. If the mixture looks dry, add 1–2 tablespoons of water so there’s some liquid pooling at the bottom—this becomes your brine.
Days 1–7: Fermentation
Transfer everything—vegetables, paste, and liquid—into a clean quart-sized mason jar or similar glass container. Press down gently so the vegetables are mostly submerged in the brine. Leave about an inch of headspace at the top. Place the lid on loosely (don’t screw it tight) and set the jar on a kitchen counter away from direct sunlight and heat sources.
Check your jar daily and press down any vegetables that float above the brine with a clean spoon or chopstick. Submerged vegetables ferment evenly and don’t get moldy. Around day 2–3, you’ll notice small bubbles rising inside the jar and a tangy smell—that’s the lactobacillus bacteria doing its job. This is good. Once fermentation is visibly active, you can tighten the lid slightly to prevent too much evaporation.
Room temperature (60–75°F) is ideal. Warmer kitchens ferment faster (5–6 days), while cooler spots need closer to 8–10 days. You’re looking for a tangy, complex flavor and a slight fizz when you open the jar. On day 7, taste a piece. If it tastes pleasantly sour and spicy, it’s done. If it’s still too fresh-tasting, leave it another 2–3 days.
Day 7 (or Beyond): Transfer to the Fridge
Once your kimchi tastes right, screw the lid on fully and move the jar to the refrigerator. Cold temperatures dramatically slow fermentation, so the flavor stabilizes. The kimchi will continue to change subtly over the next 2–3 weeks, becoming slightly more sour and the turnips staying crisp the whole time.
Troubleshooting Common Issues
Too Salty
If you taste it on day 3 and it’s painfully salty, you can rinse individual pieces under cool water before eating. Salt levels also feel less intense once fermentation is complete (day 7+) because the bacteria partially break down the sodium compounds. For future batches, reduce kosher salt to 1.5 tablespoons.
Not Sour Enough
If your kimchi tastes flat after 7 days, leave it fermenting (but covered loosely) for 2–3 more days. You can also add 1 teaspoon rice vinegar or apple cider vinegar directly to the jar after the first week to jumpstart flavor—this is not traditional but works in a pinch.
Fuzzy White Mold on the Surface
This is kahm yeast, which forms when vegetables aren’t fully submerged. It’s usually harmless and you can skim it off with a clean spoon and discard it—the kimchi below is still fine. To prevent it next time, press vegetables down daily and ensure they’re covered by brine.
Mushy or Soft Turnips
Overfermentation at too-warm temperatures can soften the turnips. To preserve crunch, keep the jar in a cooler spot (below 70°F) and move it to the fridge by day 5 or 6 if you like them very crisp. Once refrigerated, they’ll stay crunchy indefinitely.
Storage and Serving Tips
Once refrigerated, your kimchi keeps for 2–3 weeks. The brine is valuable—it’s full of flavor and probiotics, so always stir the kimchi gently before serving to redistribute it. Serve it as a banchan alongside rice and other dishes, chop it into rice bowls, use it as a topping for grilled meat, or add it to stir-fries in the last minute of cooking. The heat mellows slightly when cooked.
You can also reuse the brine—once you’ve eaten the vegetables, save what’s left in a clean jar. It’s a flavor concentrate that works as a dipping sauce for dumplings or a base for quick-pickled cucumber or radish. Some cooks even drink a spoonful of the brine (it’s salty and tangy, acquire-a-taste territory) or use it to kick-start the next batch of kimchi.
Ingredient Shopping Guide
Most ingredients for this recipe are available at regular supermarkets. Fresh turnips, scallions, garlic, and ginger are standard produce items. Kosher salt is in any grocery store’s salt aisle. The two items you might need to source more carefully are gochugaru and fish sauce.
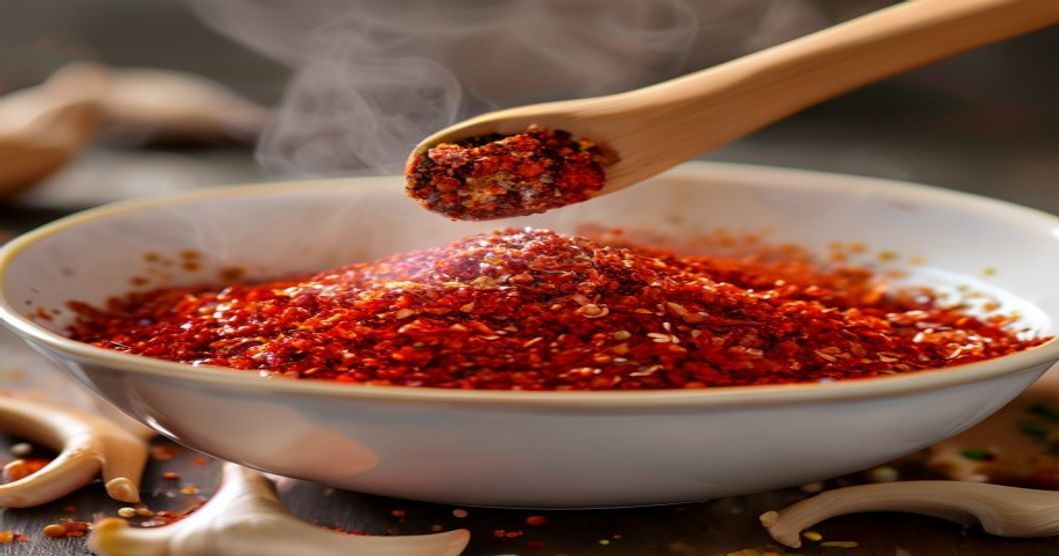
Gochugaru (Korean red chili flakes): This is the soul of your kimchi. Look for it in the Asian or international aisle of larger supermarkets, or order it online from retailers that carry Korean ingredients. Choose a brand labeled “gochugaru” (not “gochujang,” which is a paste). The color should be bright red, not dark brown. Fresh gochugaru (less than a year old) has better flavor. If you can’t find it, a pinch of cayenne or red pepper flakes can substitute, but the taste will be different—less fruity and more purely hot.
Fish sauce: Available in most supermarkets these days, often near soy sauce or in the Asian aisle. It smells aggressive straight from the bottle (funky, pungent, fishy), but ferments into the background and adds umami depth. If you’re cooking vegetarian, substitute soy sauce or tamari in equal amount—the kimchi will be slightly less funky but still delicious.
For convenience, you can also purchase pre-made kimchi paste (often labeled “kimchi base” or “kimchi seasoning”) at Korean markets or online, though making your own paste from gochugaru, garlic, and ginger gives you more control and usually costs less.
For related kimchi recipes that use similar fermentation techniques with different vegetables, check out how to make spinach and sesame oil kimchi, which offers a milder fermented option, and how to make kimchi with leek and carrot if you want to experiment with other vegetable combinations. If you’re interested in fermenting without refrigeration, learn how to make kimchi in a mason jar for camping and travel.
Who This Recipe Is For (and Who It Isn’t)
- Fermentation beginners—turnips are forgiving
- People who prefer crunchy texture over funk
- Budget-conscious home cooks
- Anyone on a 5–10 day timeline (faster than cabbage kimchi)
- Meal preppers making banchan for the week
- People who dislike spicy food (gochugaru is non-negotiable)
- Those seeking very deep, complex fermented funk (mild compared to cabbage kimchi)
- Anyone without 7 days of counter space
- People allergic to fish or unwilling to use fish sauce
The Bottom Line
Turnip and scallion kimchi is the easiest entry point into home fermentation. Seven days and basic pantry ingredients yield a crisp, tangy side dish that lasts weeks in the fridge and improves with time. Skip the complicated napa cabbage preparations and start here.
Pro move: Make a double batch on day 1—one jar for eating fresh (day 5–7) and another for deep fermentation (2+ weeks). You’ll taste how dramatically flavor develops, and you’ll never run out of kimchi.
Disclosure: This article contains affiliate links. If you purchase ingredients or equipment (such as mason jars or fermentation weights) through linked retailers, we may earn a small commission at no extra cost to you. As an Amazon Associate I earn from qualifying purchases. This does not affect the editorial integrity of our recommendations—we suggest only products we believe are genuinely useful for the recipe.